The Light My Bricks Bit Light can be installed in a number of different ways. This page will go through the several different methods you can use to install our Bit Lights to your LEGO Creation.
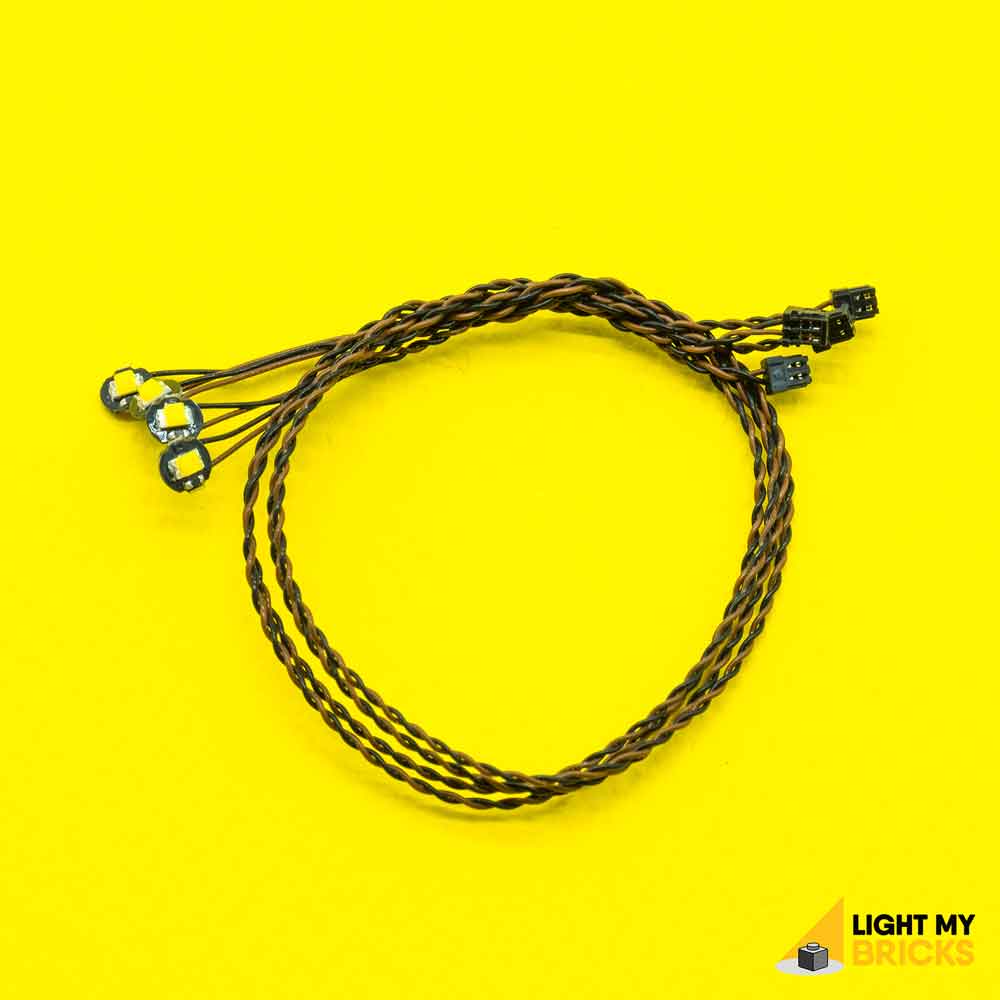
The Bit Light measures approximately 3.2mm and is connected to either a 15cm connecting cable or 30cm cable. The width of our cables are approximately .5mm. The tiny size of our Bit Lights enable our customers to install them under any 1×1 LEGO brick or plate. These can be purchased in a 4pack on our website and are also available in a number of different colours as well as a flashing effect.
Installing Bit Lights underneath 1×1 Plates
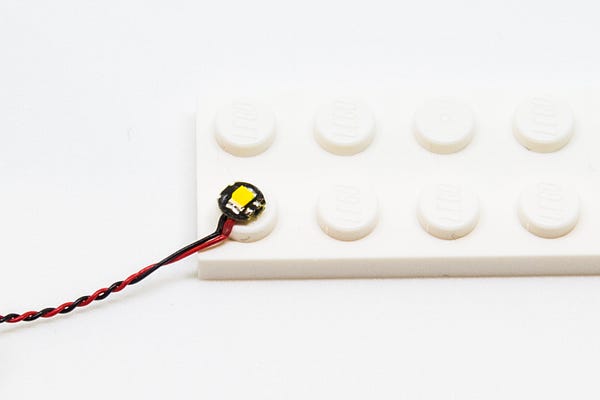
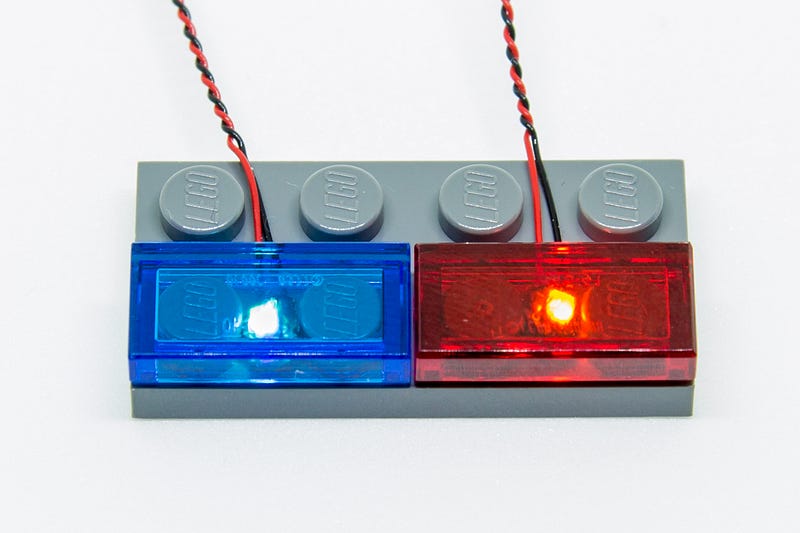
The simplest method to install our Bit Lights is by installing them underneath LEGO Plates or Bricks either directly underneath or in between studs.
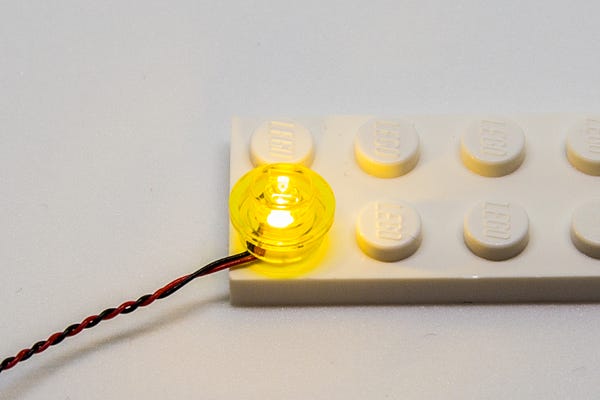
To install them directly underneath, place the Bit Light over a LEGO stud facing up. Take a 1×1 LEGO plate and then connect it over the top. The LED component will easily fit inside of the LEGO stud.
Installing Bit Lights in between studs underneath Tiles
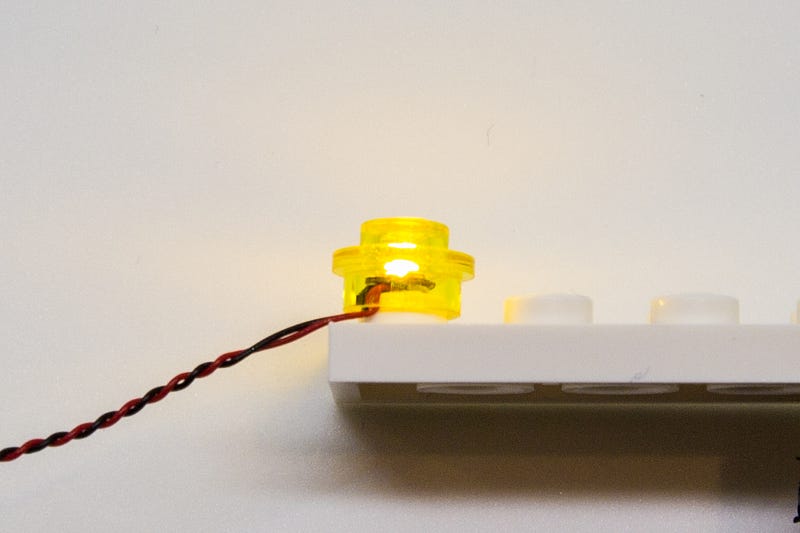
You can install Bit Lights in between studs as long as they are underneath a LEGO tile rather than a plate. This reason being is that a LEGO plate has a part that connects in between the stud leaving no room for the Bit Light. To install them in between studs, simply place the Bit Light in between two studs and then connect a 1×2 Tile over the top. Note that
Installing Bit Lights to lamps (feeding cable all the way through).
There are several different methods to install Bit Lights to a variety of lamps depending on how they are assembled.
The below examples will demonstrate how to install Bit Lights to pieces which have holes to pass the cable all the way through. These two examples are extracted from our instructions from the Parisian Restaurant Light Kit.
Example 1
Disconnect the 2 transparent yellow Lego pieces from the lamp sections
Take a White Bit Light and thread the connector side of the cable down through the larger hole of the transparent yellow Lego piece. Thread this all the way until the LED part is up against the inside Lego piece.
Reconnect this piece with Bit Light installed back to the lamp shade
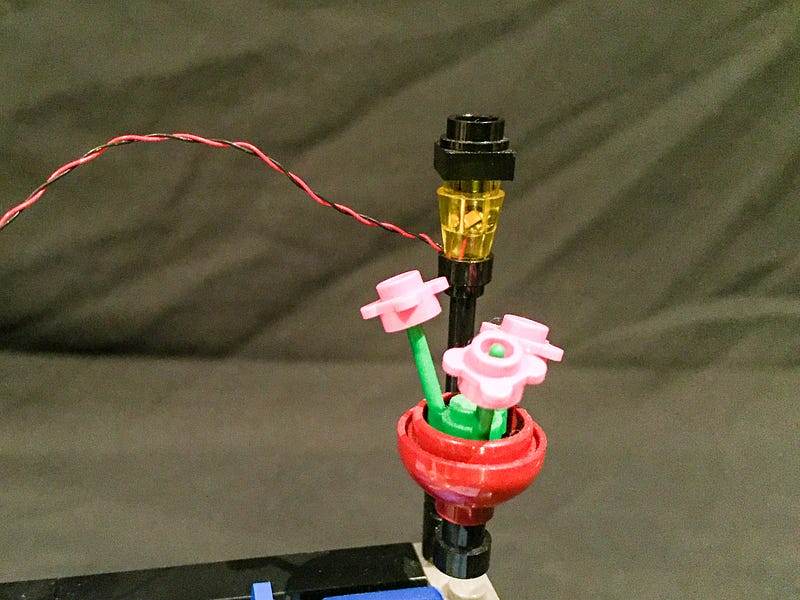
Example 2
Start by removing the Lego pieces which make up the 2 lamps. You only need to remove the yellow transparent pieces.
Using a White Bit Light, thread the connector side of the cable through the larger hole of the yellow Lego piece. Thread this all the way through until the LED part is sitting comfortably inside the Lego piece, then connect the top of the lamp post (black Lego pieces) back on top of the yellow piece.

Connect the lamp back to the lamp post. The cable should be able to fit comfortable in between the lamp and lamp post like below.
Installing Bit Lights to lamps (using pieces without holes to pass cable through).
The below examples will demonstrate how to install Bit Lights to pieces which do NOT have holes to pass the cable all the way through.
Example 1
This example shows how to install our Bit Lights to the lanterns in the Ninjago City set. The lanterns are assembled using Trans Bright Orange coloured Minifig Heads. These pieces only have an opening at the base so we need to use a different method to install our lights.
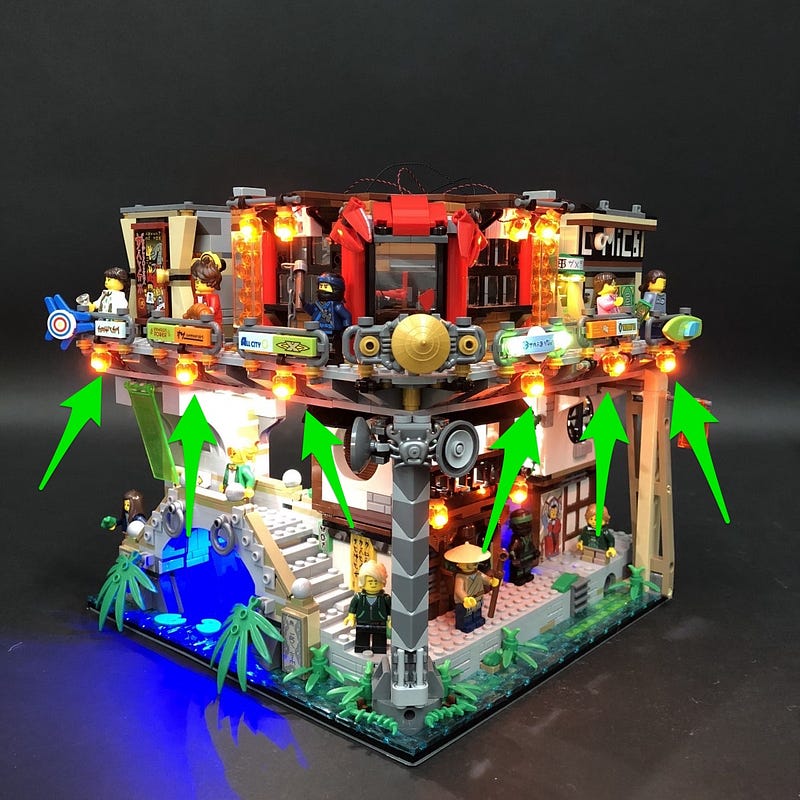
First disconnect the three lantern pieces from the bottom.
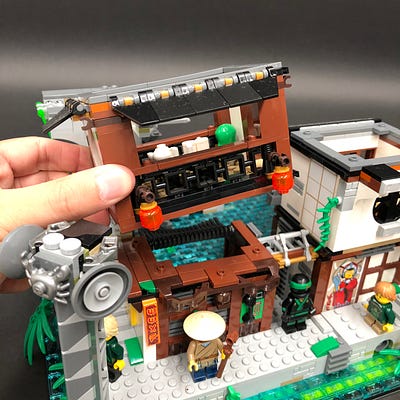
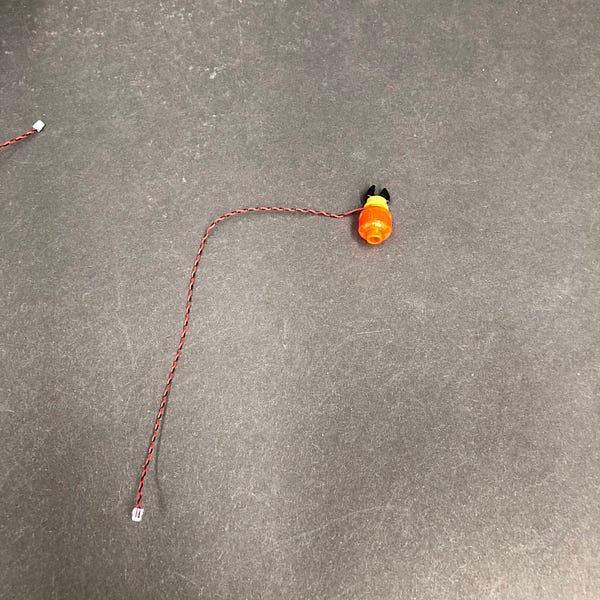
Disconnect the black and gold pieces from the top of the lanterns and then take out 3x White 15cm Bit Lights.
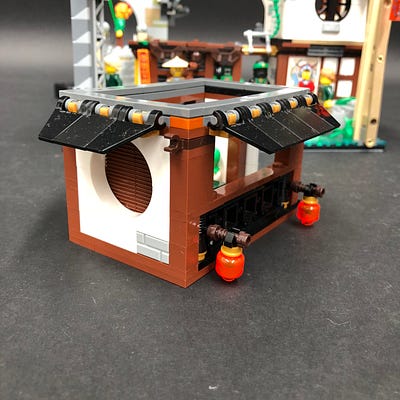
Install the first White 15cm Bit Light by inserting the led component inside the lantern piece. Take the black and gold pieces and then reconnect them over the top. Ensure the led component is facing the front (of where you will be positioning the lantern) and that the cable is pulled to the back of the lantern.

Repeat this process to install Bit Lights to all three lanterns.
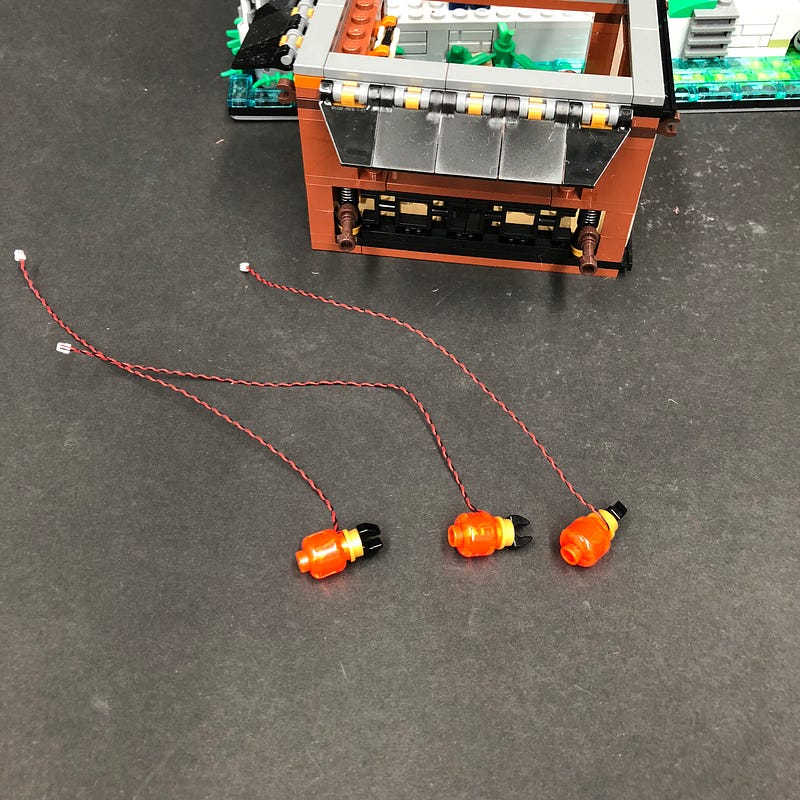
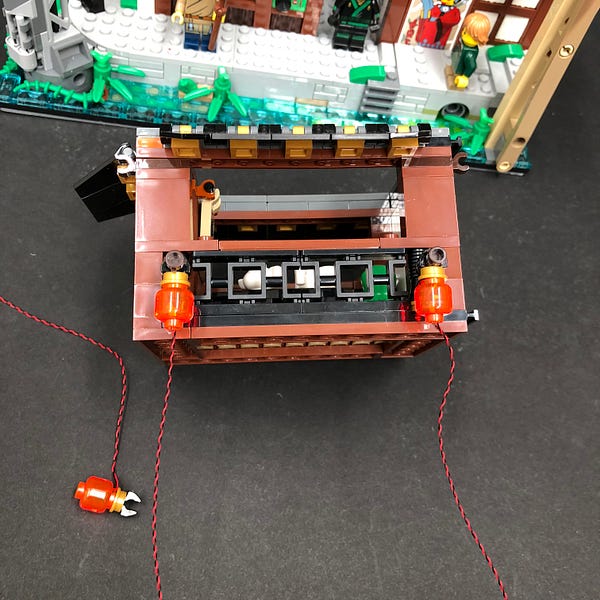
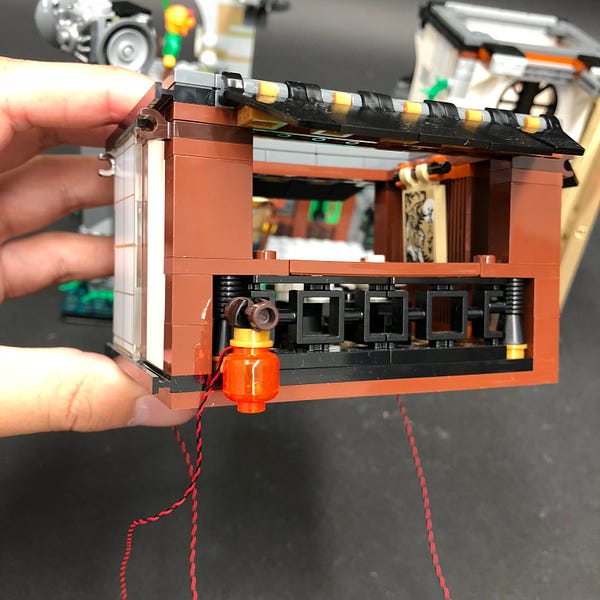
Reconnect the lantern pieces to the bottom of the second floor section ensuring the cables are facing behind each lantern.
Example 2
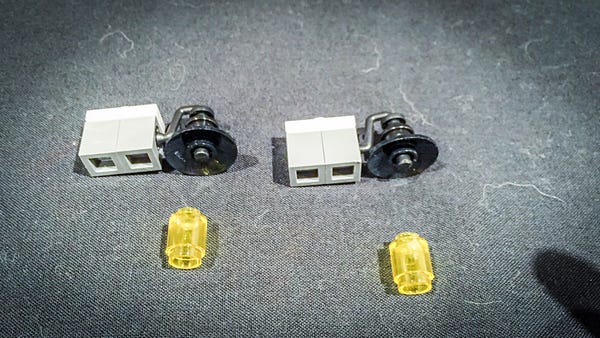
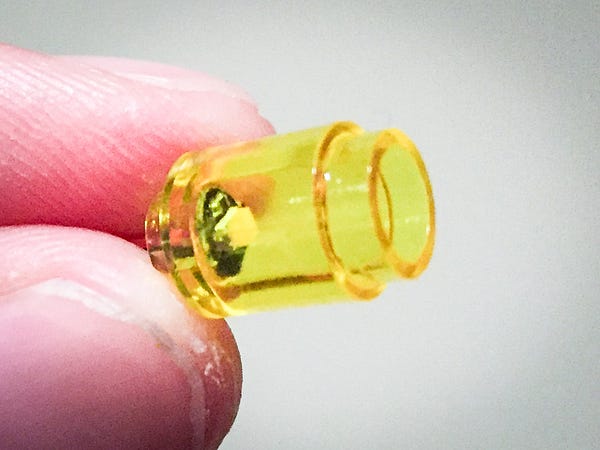
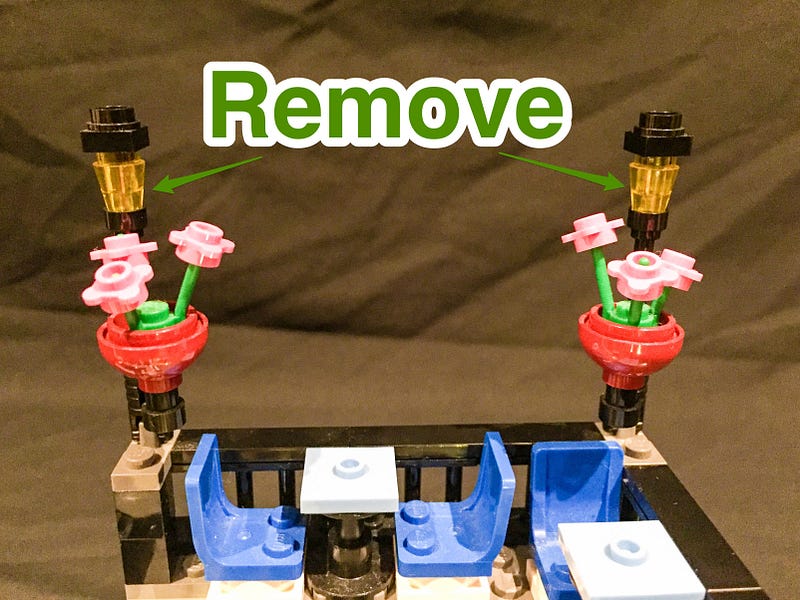
This example shows how to install our Bit Lights to the lamps in the Assembly Square set. These lamps are installed using 1×1 trans yellow round plates which only have an opening at the base.
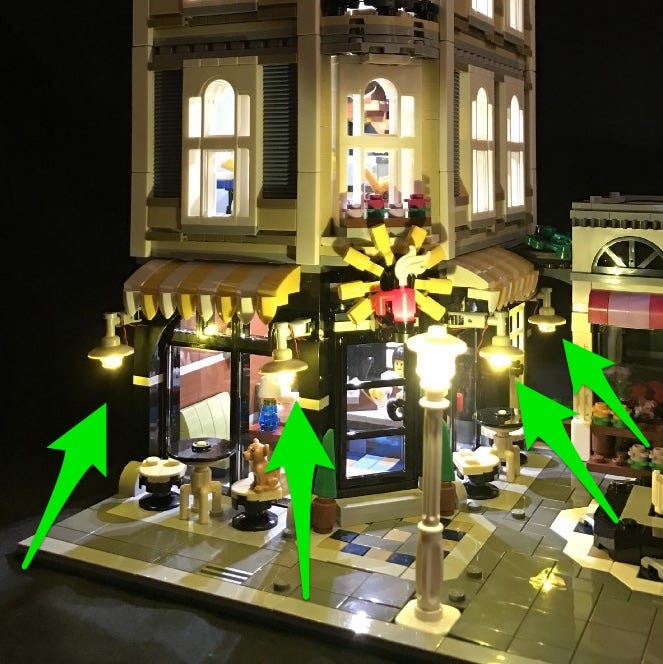
Remove the 2 lamp sections at the front.
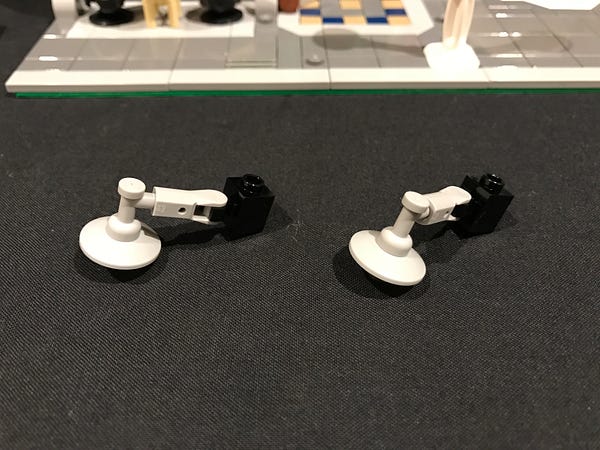
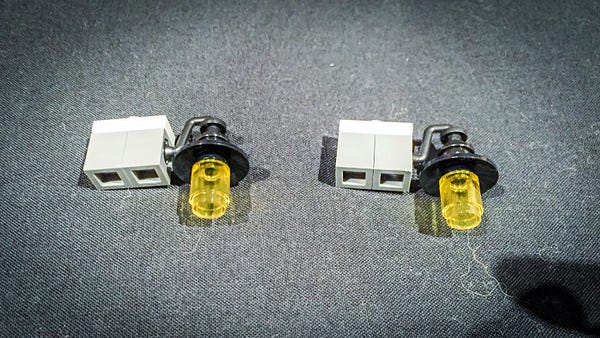
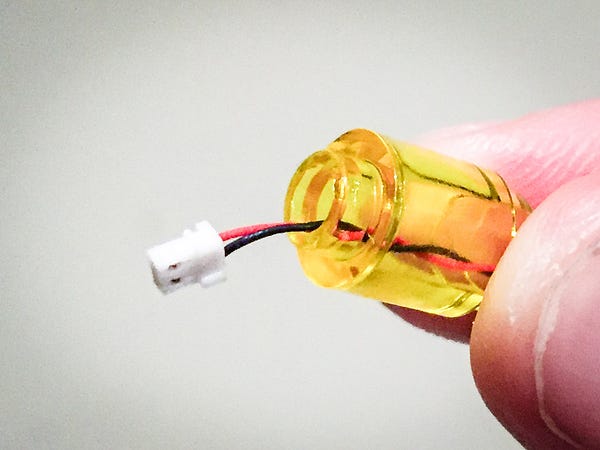
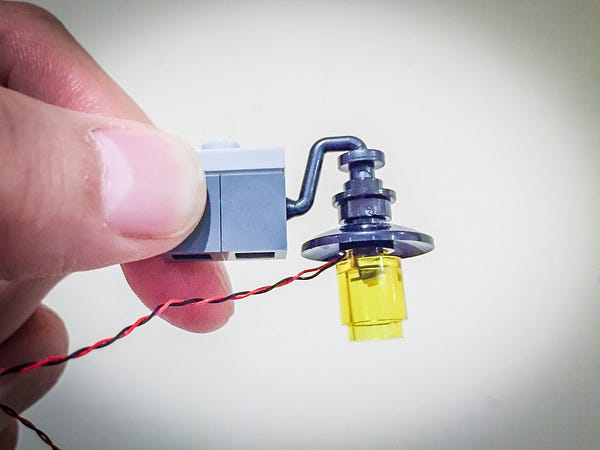
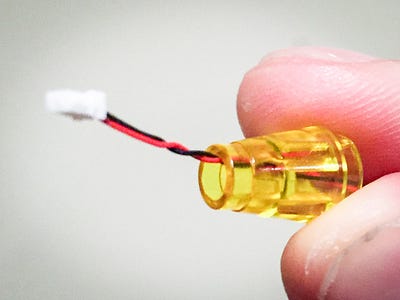
Take a Bit Light with 15cm cable and then bend the cable up in 90 degree angle where the LED component is.
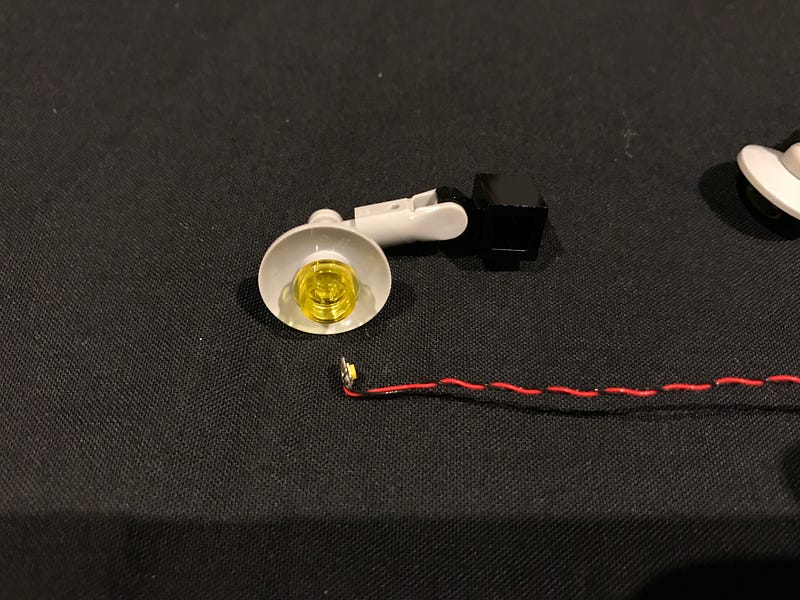
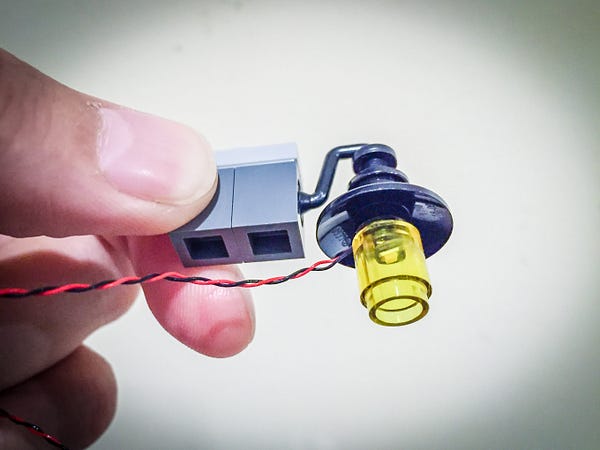
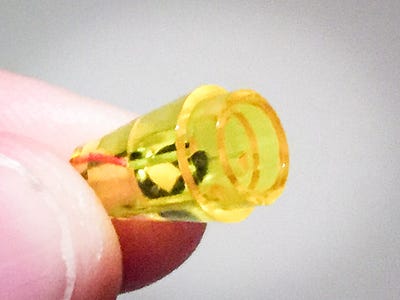
Place the LED component facing upward inside the middle of the trans yellow LEGO piece of one of the lamps. Pull the cable over the top of the lamp and then pull it right toward the black brick. Reconnect this lamp section back to the front wall ensuring the cable is tight and in between the 2 black bricks.
Reconnect the 1×2 black brick over the top to secure it in place.
Repeat the same process to install another Bit Light with 15cm cable to the lamp on the right side of the front of the cafe.
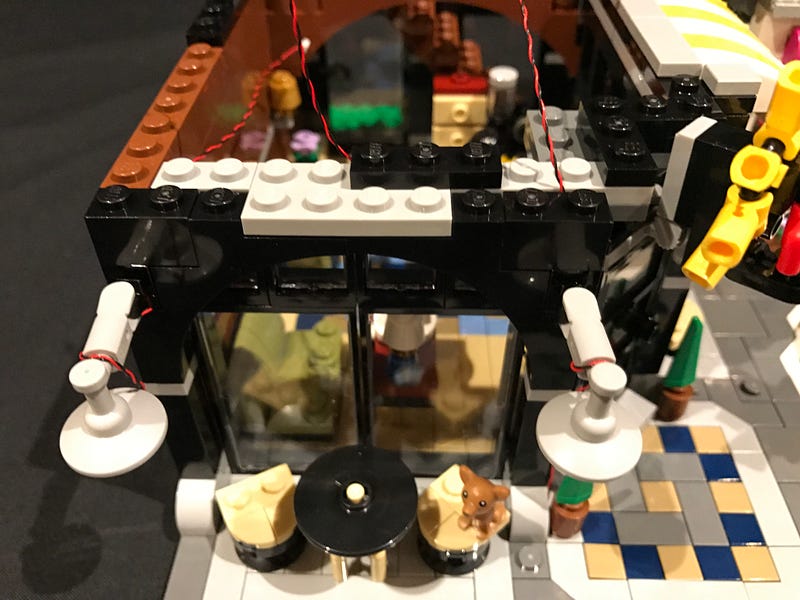
Reconnect surrounding LEGO bricks and pieces we removed earlier.
Example 3
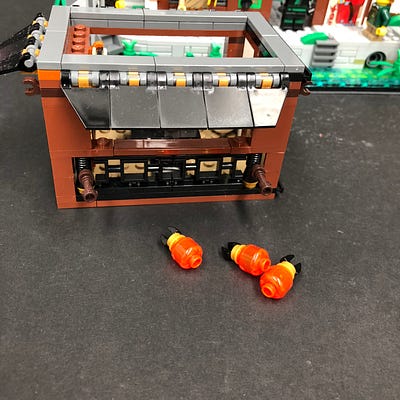
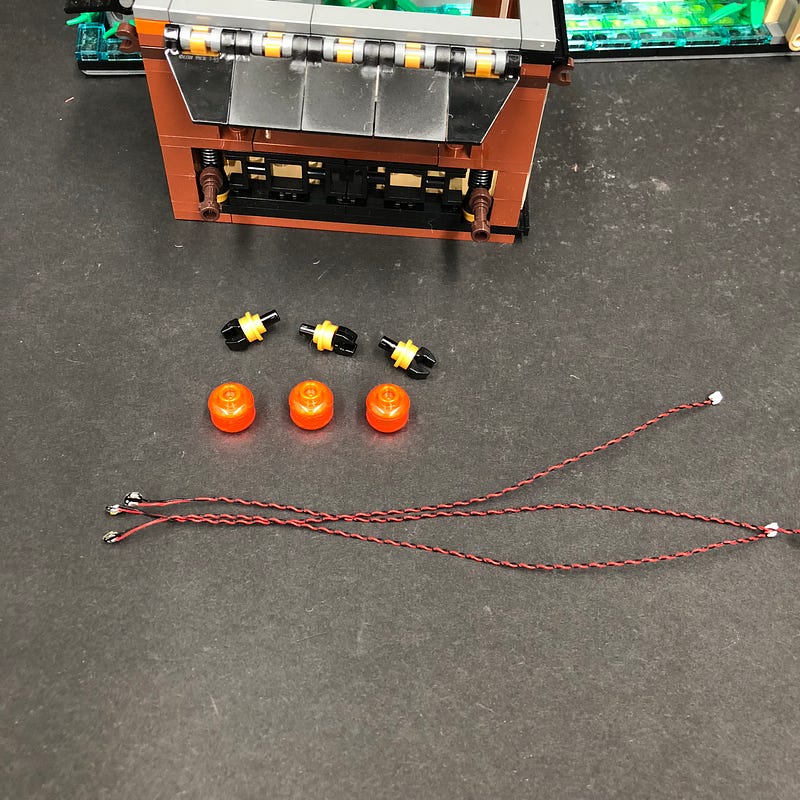
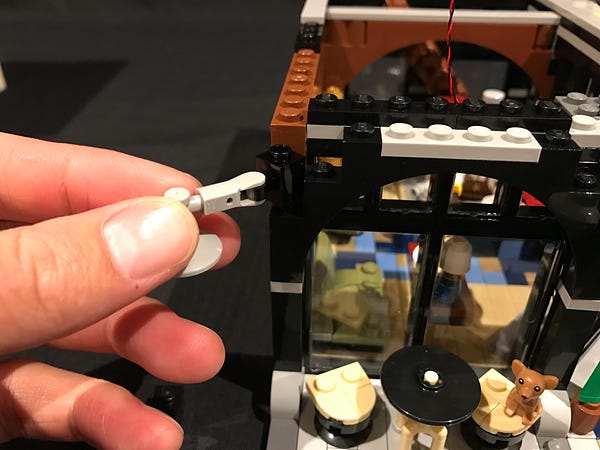
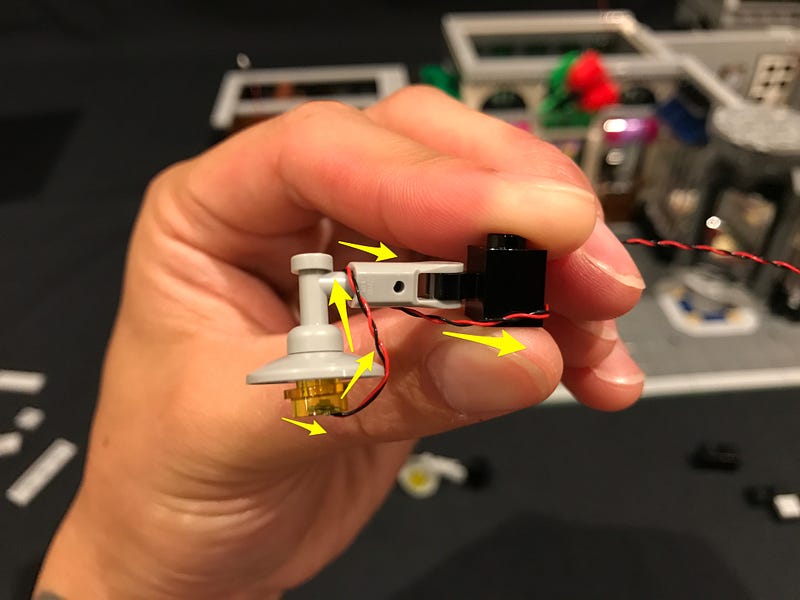
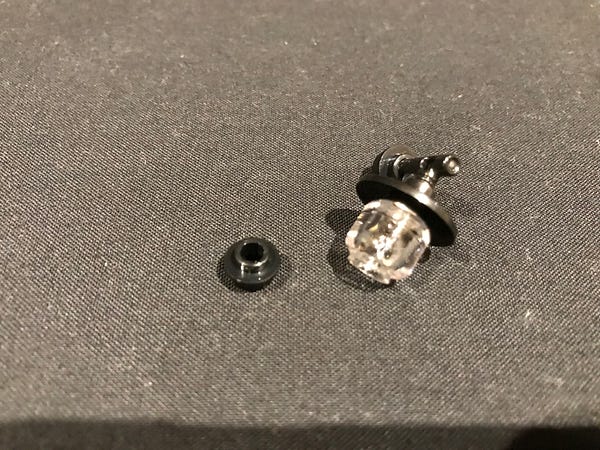
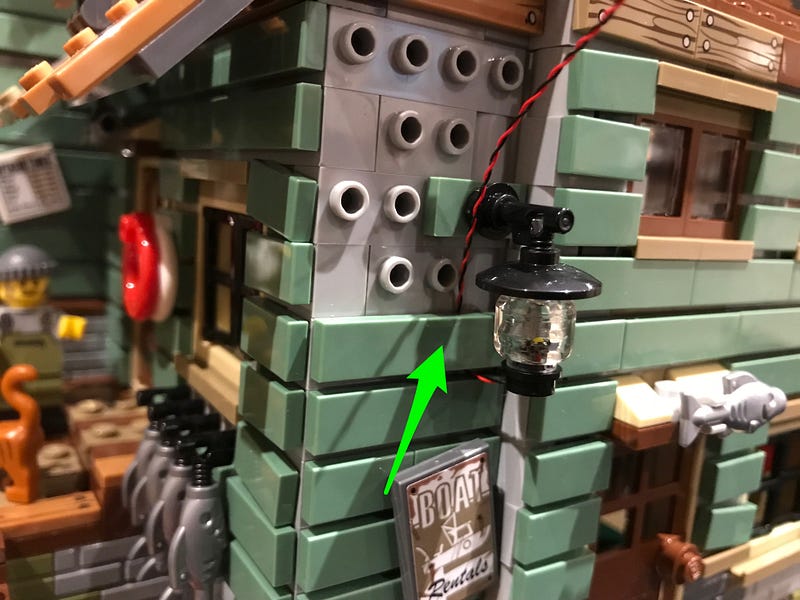
This example shows how to install our Bit Lights to the lamps in the Old Fishing Store set. These lamps are installed using trans clear minifig head with only the opening at the base of the piece.
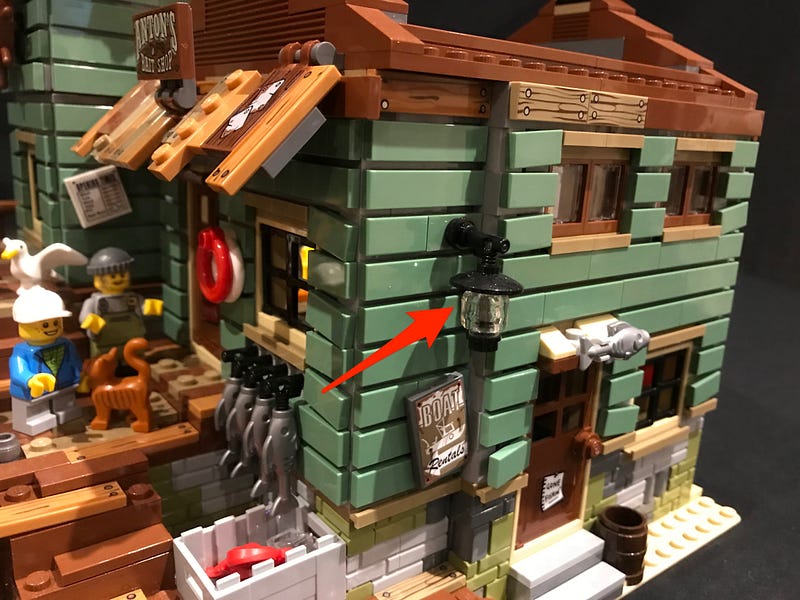
Remove the lamp from the right side of the building and then disconnect the black round stud from underneath.
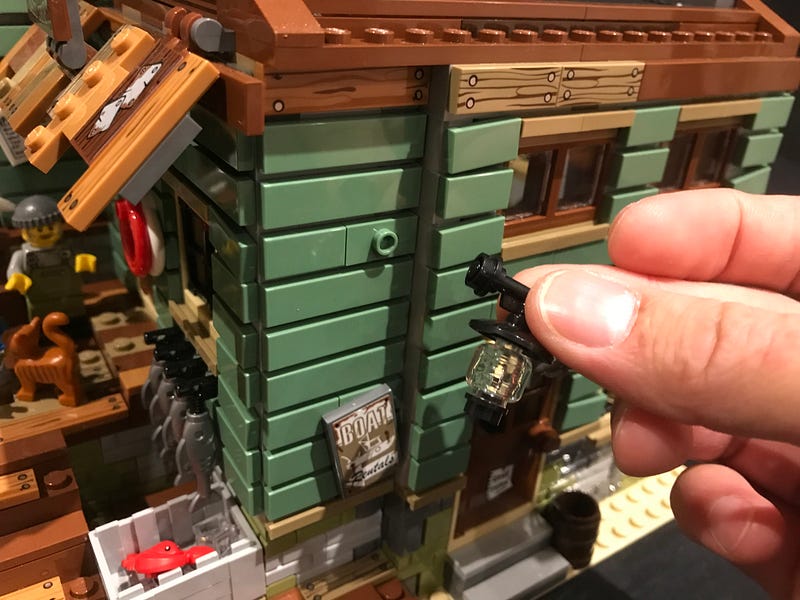
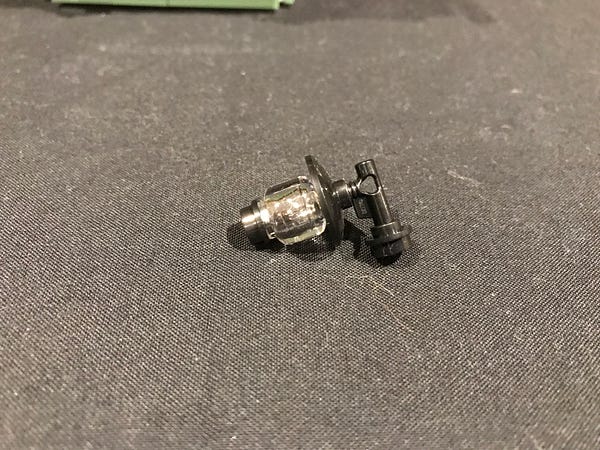
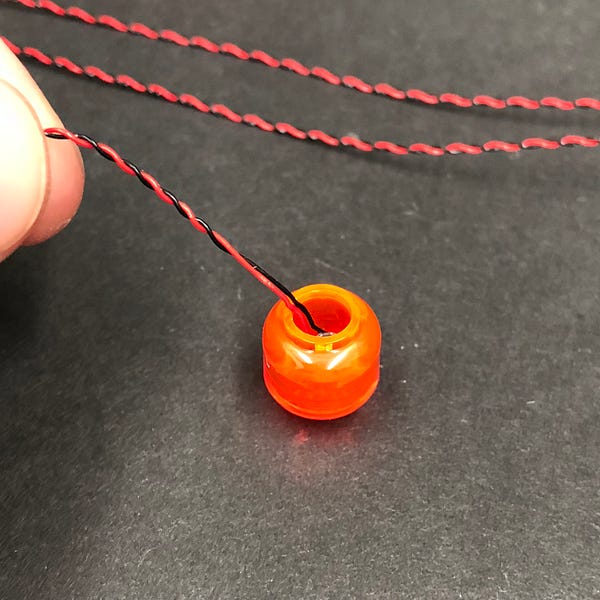
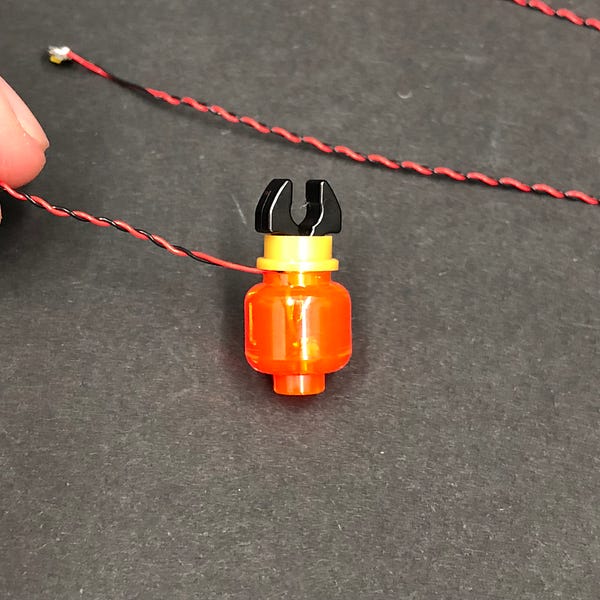
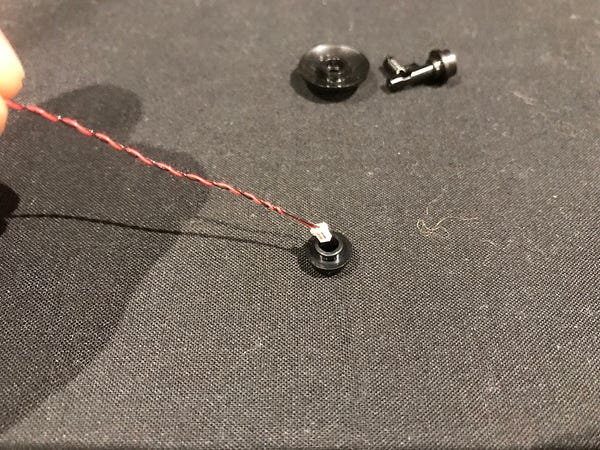
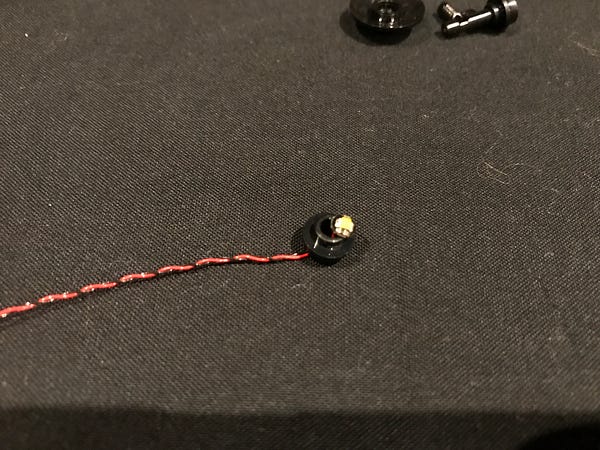
Take a White 15cm Bit Light and thread the connector side through the top of the black round plate. Thread it all the way through until the LED is flat against the top of the plate then reconnect the top section of the lamp.

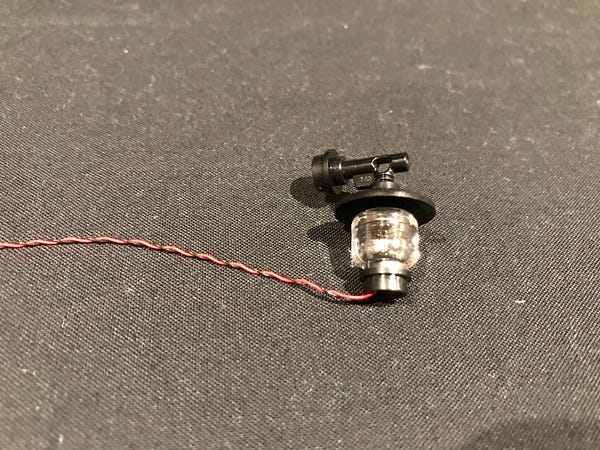
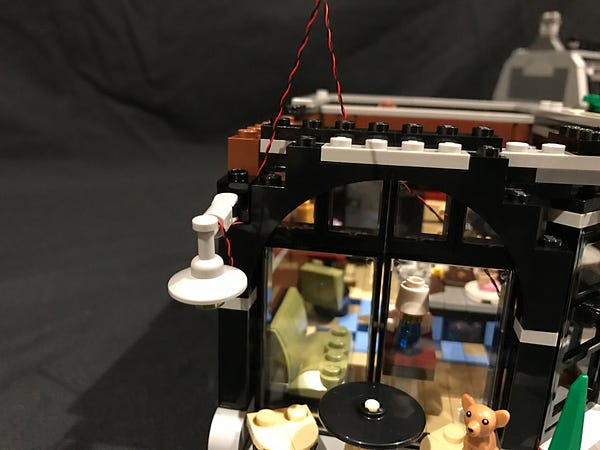
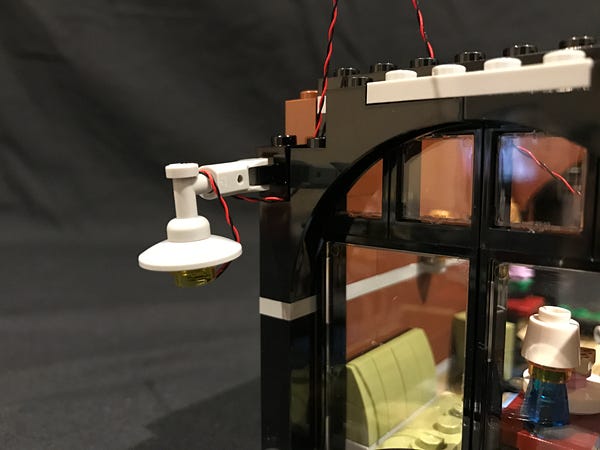
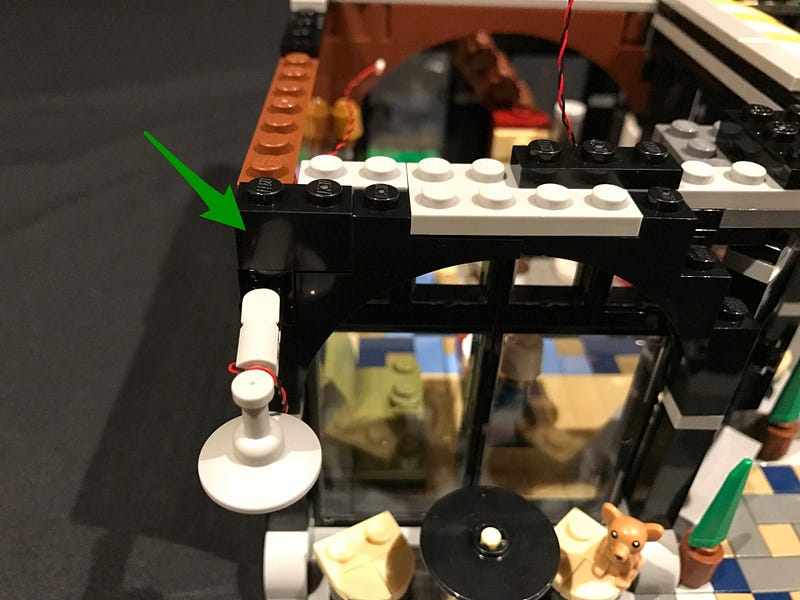
Reconnect lamp with Bit Light installed to the front of the building
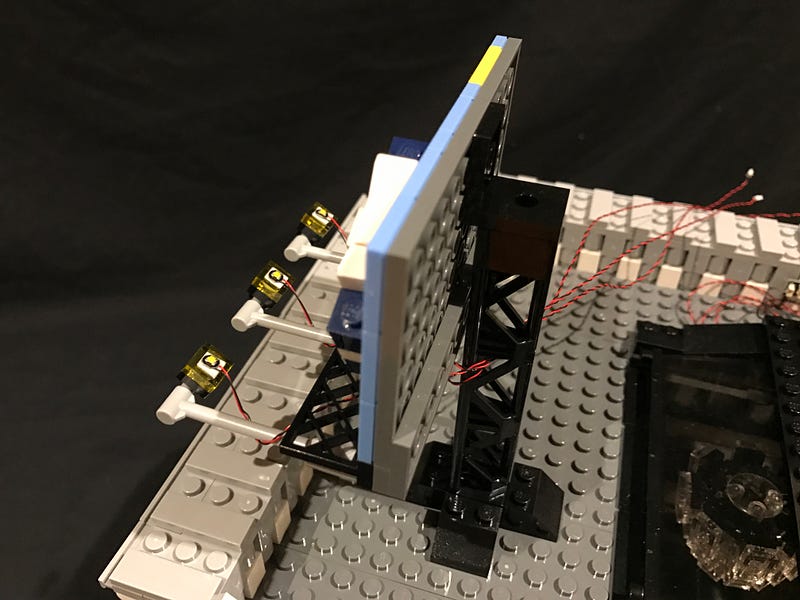
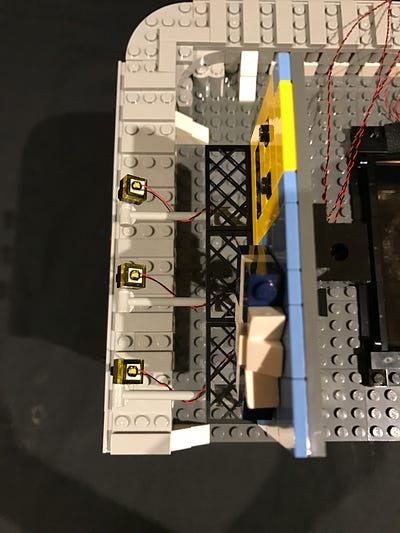
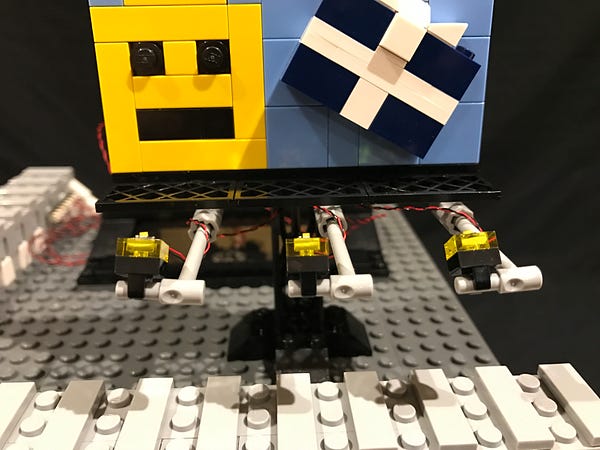
Installing Bit Lights without the use of any LEGO bricks
It is not mandatory to install our Bit Lights underneath or in between LEGO bricks and pieces. There may be instances where there are no sections within your MOC to connect a LEGO piece to. It may be a flat surface such as a tile, window or arch way. Luckily, our Bit Lights can be used together with our Adhesive Squares to mount onto any flat surface.
Below are examples to show how easy it is to install our Bit Lights using our double sided Adhesive Squares.
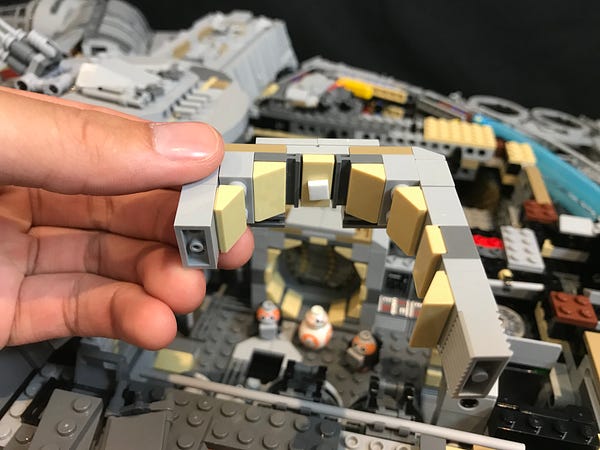
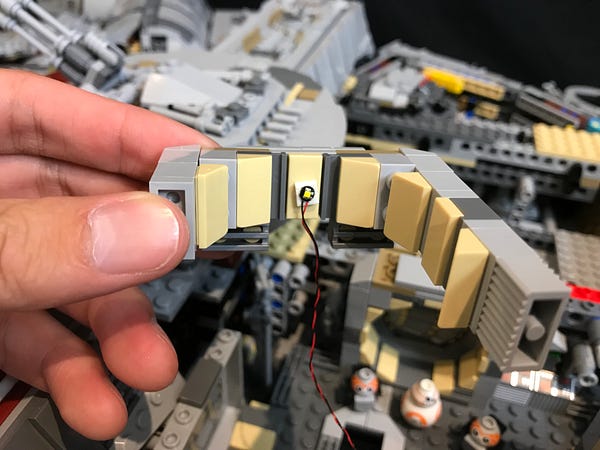
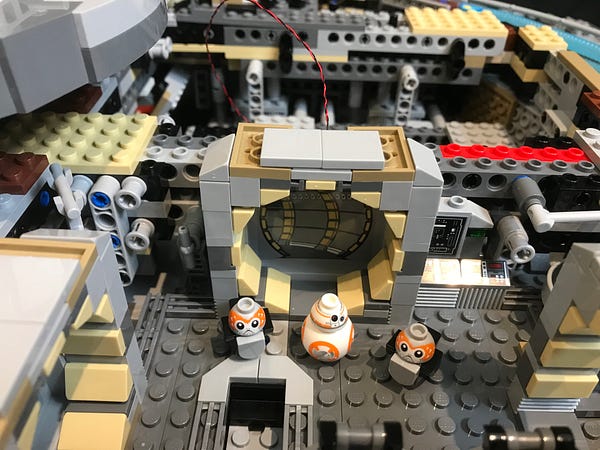
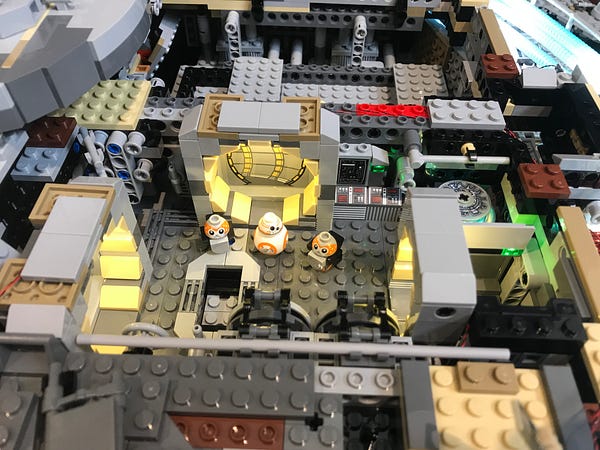
Example 1 – UCS Millennium Falcon Light Kit
Example 1 — Grand EmporiumLight Kit
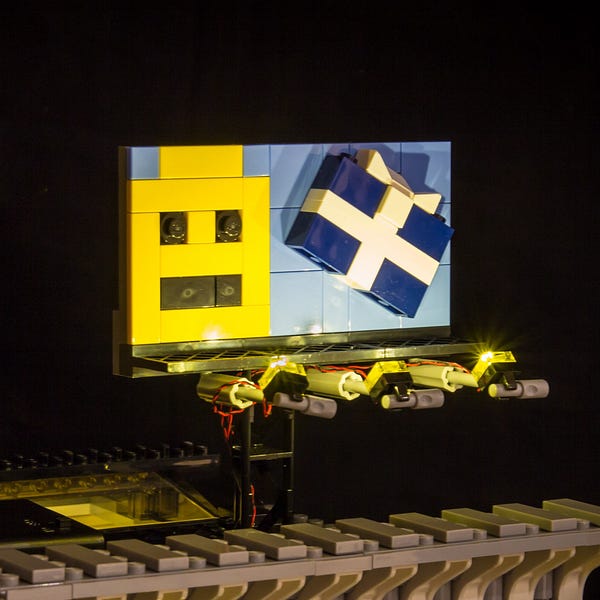
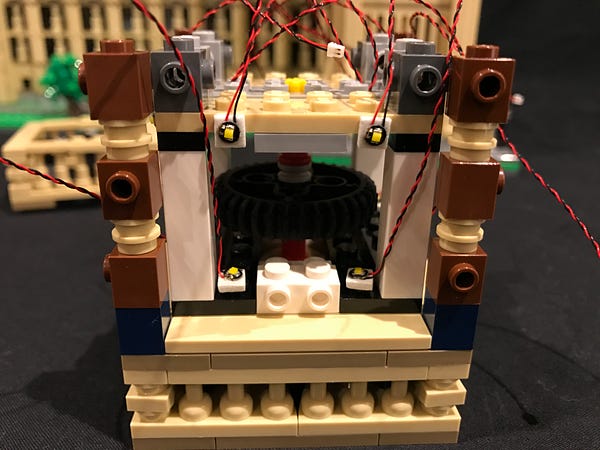
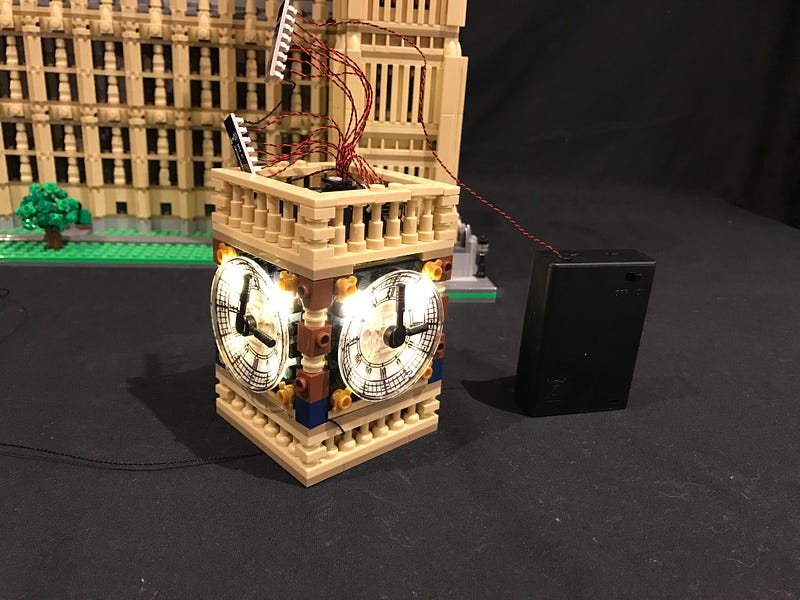
Example 3— Big Ben Light Kit

The above examples can be followed as guides to install Bit Lights to your LEGO creations. We encourage all our customers to be creative as possible as there are endless possibilities in lighting your LEGO creations. Head over to our DIY section on our website and grab a 4pack of Bit Lights now.