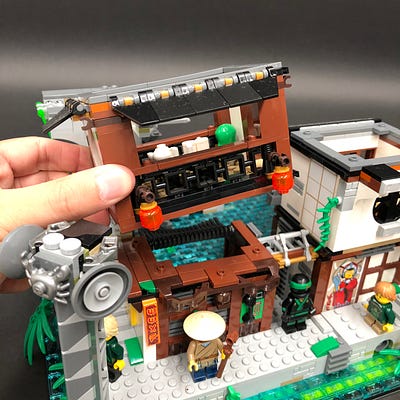
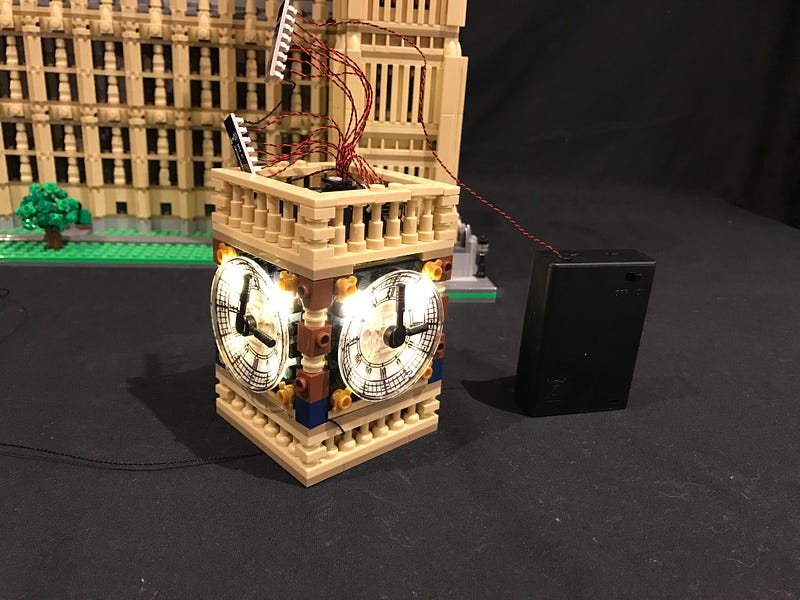
The following page is the instructions for the Light My Bricks Remote Control and Sound kit.
If you run into any issues, please refer to the online troubleshooting guide.
To ensure a trouble-free installation of your light kit, please read and follow each step carefully.
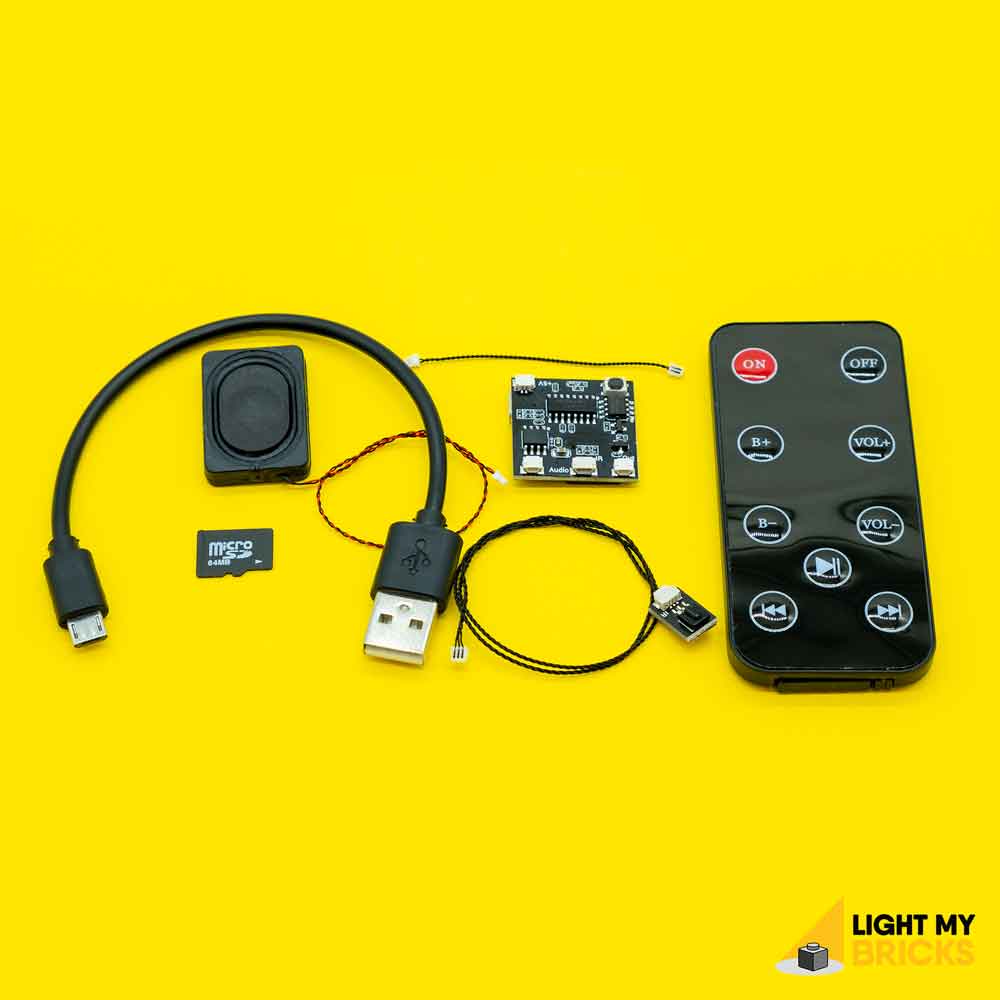
Package Contents:
- 1x Remote Control (Includes CR2025 battery)
- 1x Remote Control and Sound Board
- 1x 64MB Memory Card (pre inserted)
- 1x IR Receiver with 30cm Connecting Cable
- 1x Speaker with 15cm Connecting Cable
- 1x 5cm Connecting Cable
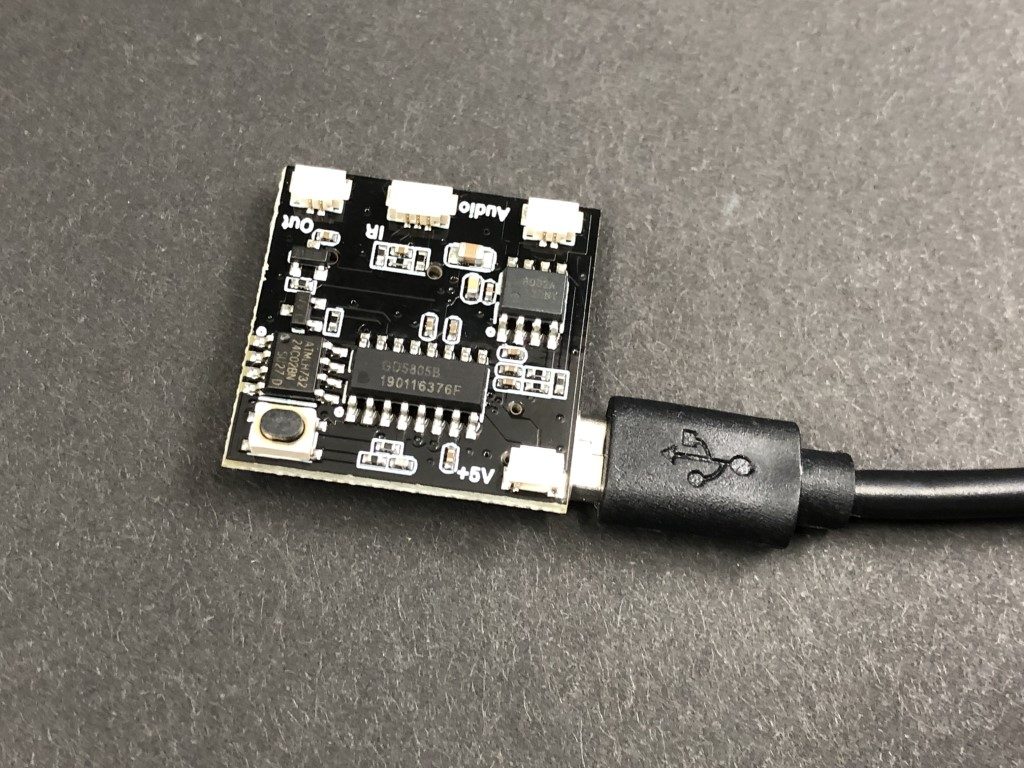
- 1x Micro USB Cable
Important things to note:
Laying cables in between and underneath bricks
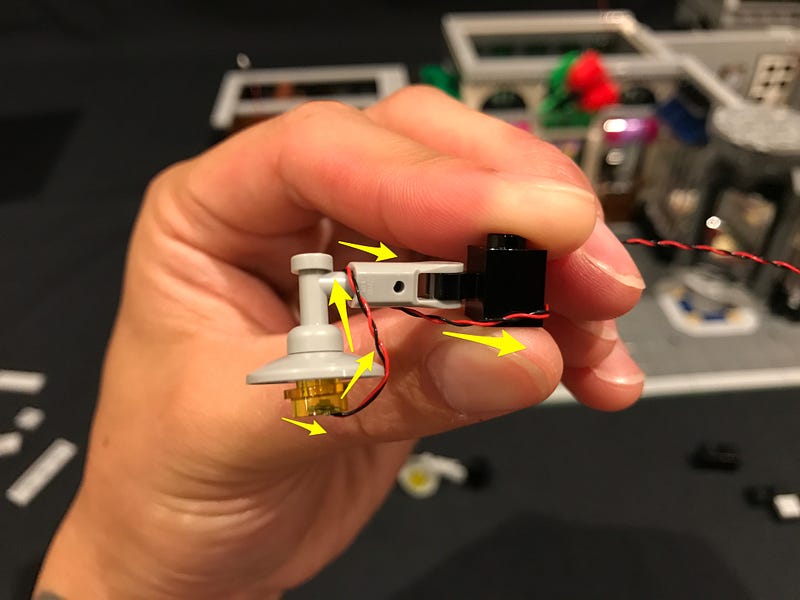
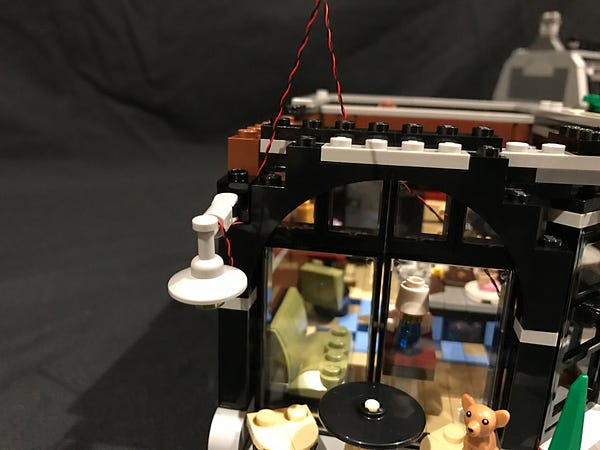
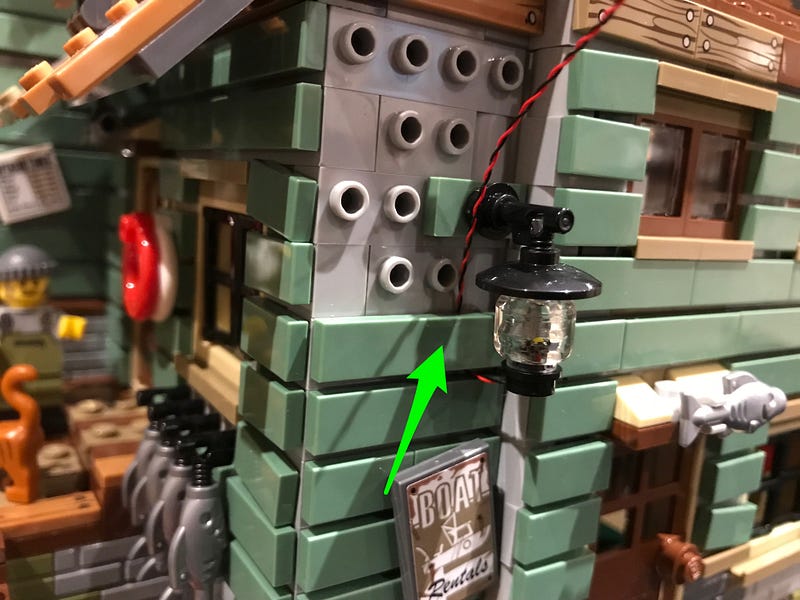
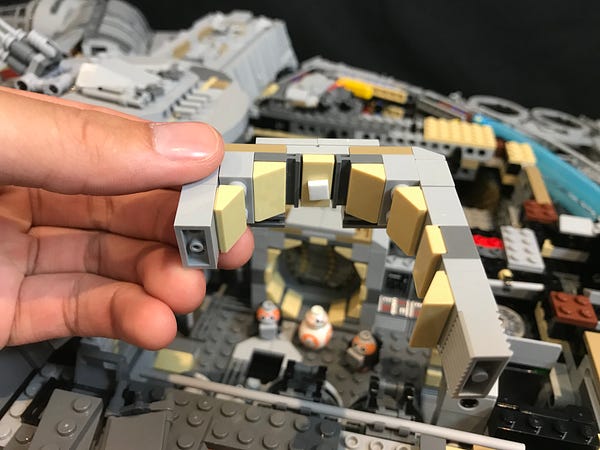
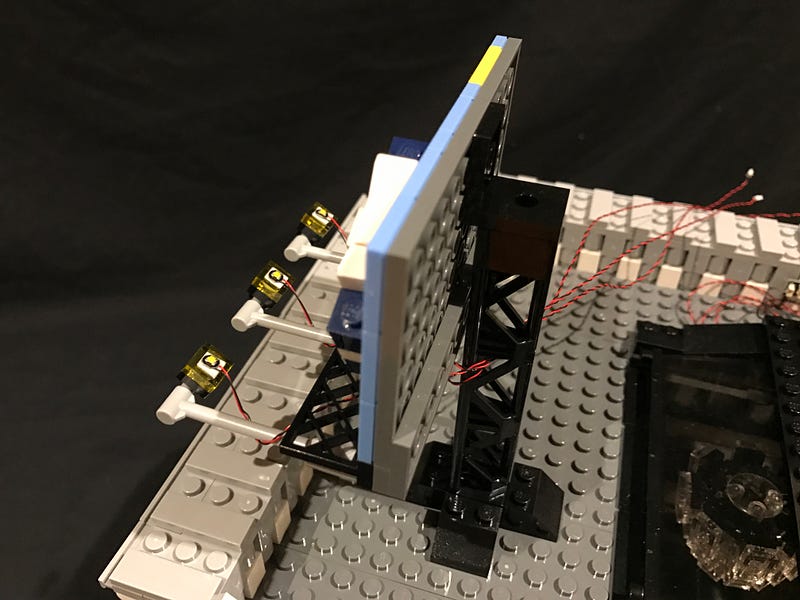
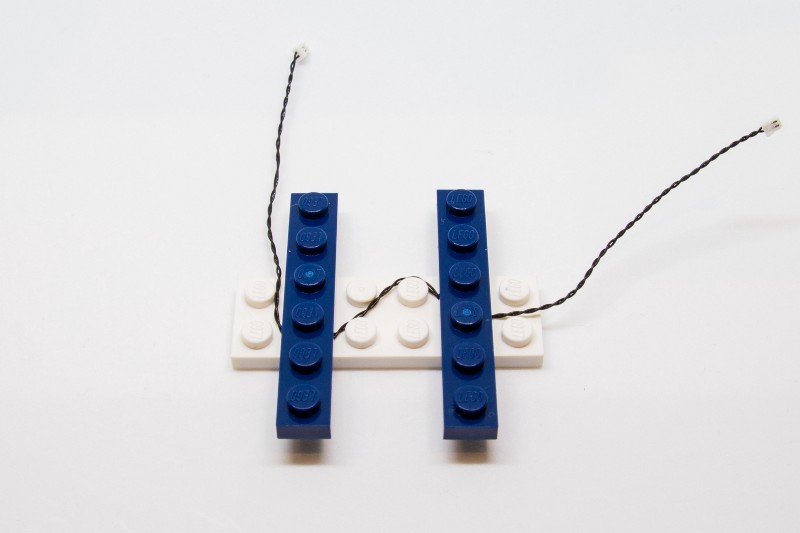
Cables can fit in between and underneath LEGO® bricks, plates, and tiles providing they are laid correctly between the LEGO® studs. Do NOT forcefully join LEGO® together around cables; instead ensure they are laying comfortably in between each stud.
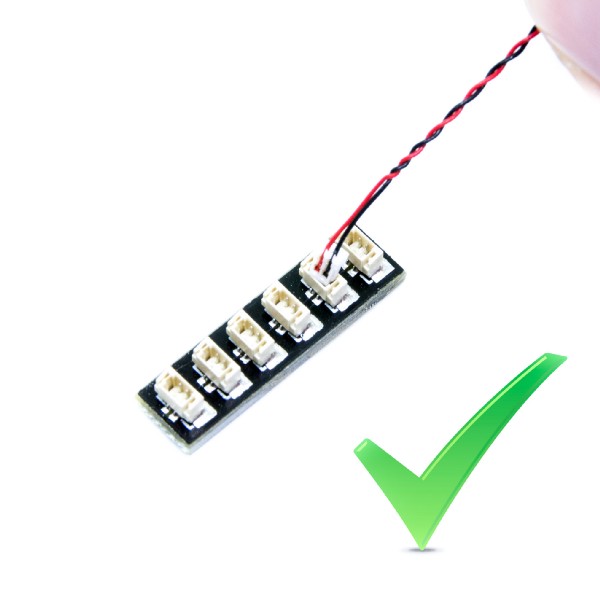
Connecting cable connectors to Expansion Boards
Take extra care when inserting connectors to ports of Expansion Boards. Connectors can be inserted only one way. With the expansion board facing up, look for the soldered “=” symbol on the left side of the port. The connector side with the wires exposed should be facing toward the soldered “=” symbol as you insert into the port. If a plug won’t fit easily into a port connector, do not force it.
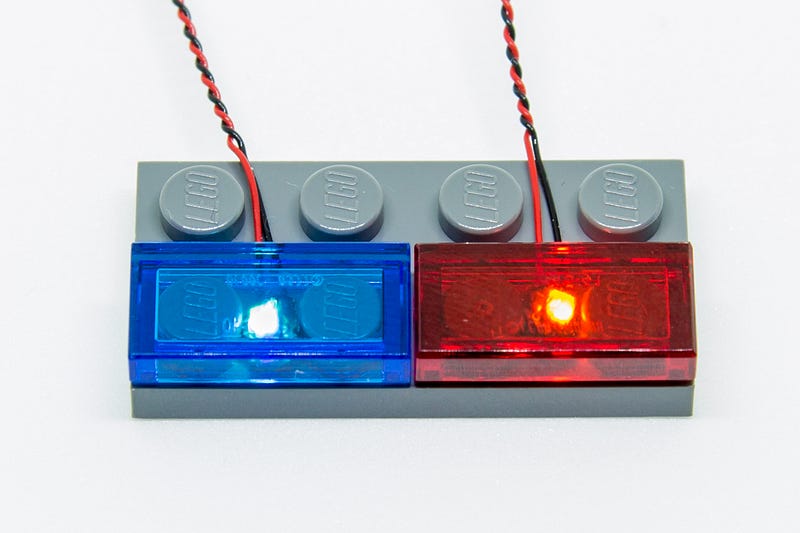
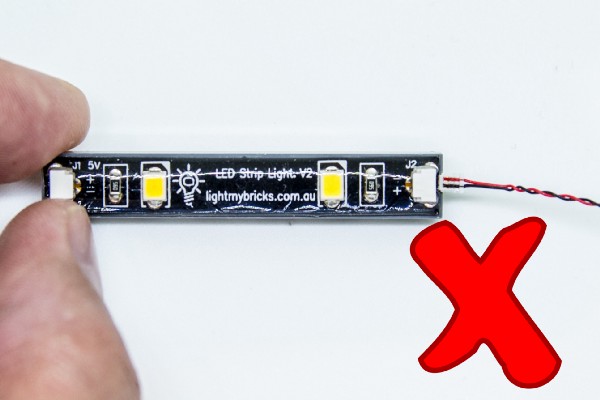
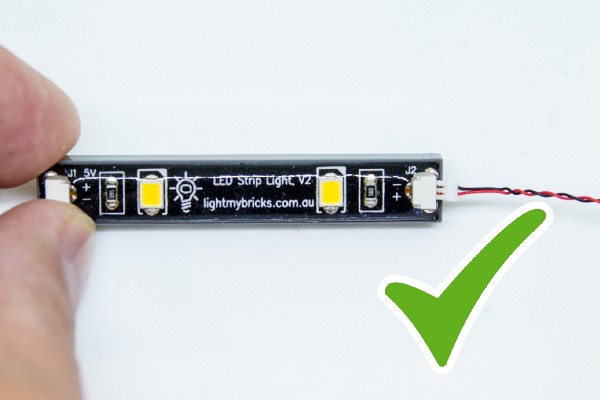
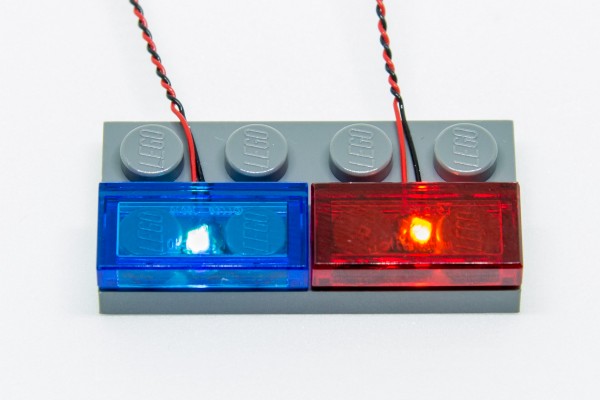
Connecting cable connectors to Strip Lights
Take extra care when inserting connectors to ports on the Strip Lights. Connectors can be inserted only one way. With the Strip Light facing up, ensure the side of the connector with the wires exposed is facing down. If a plug won’t fit easily into a port connector, don’t force it. Doing so will damage the plug and the connector.
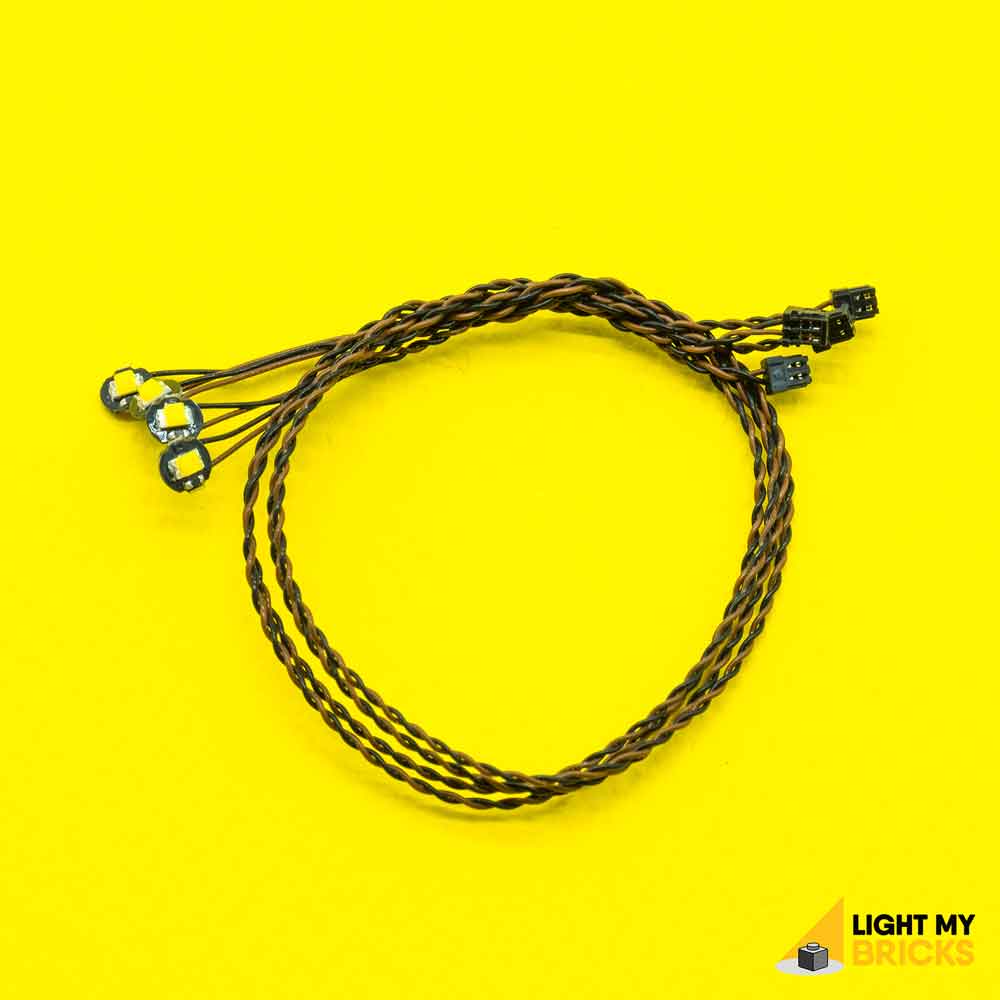
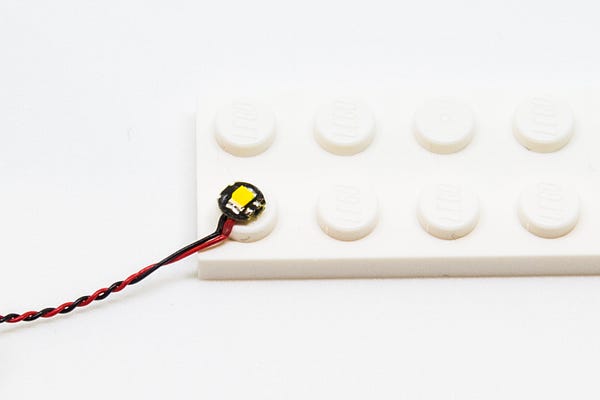
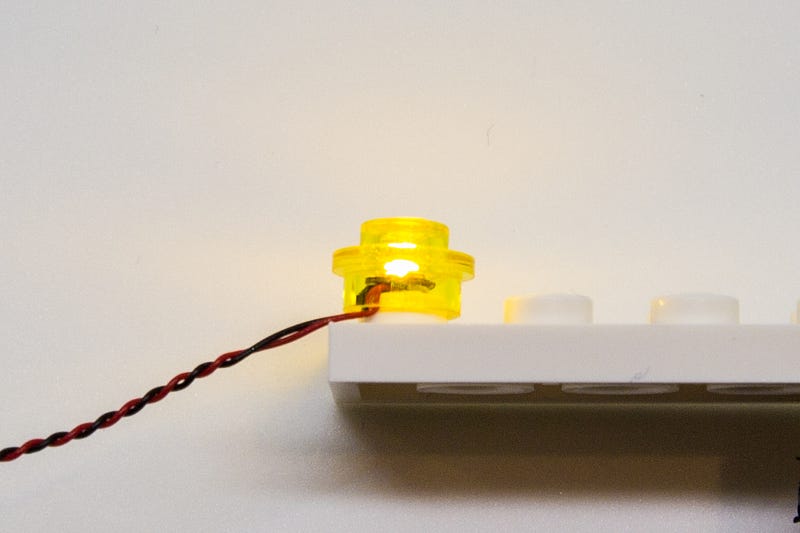
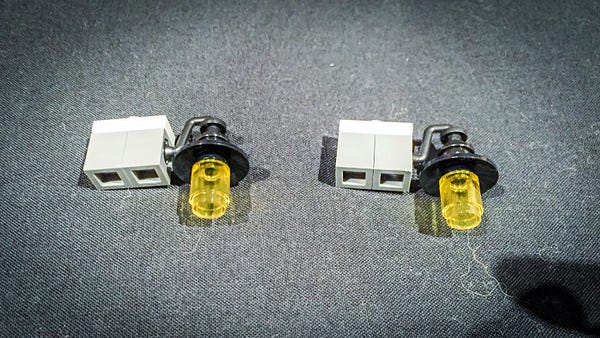
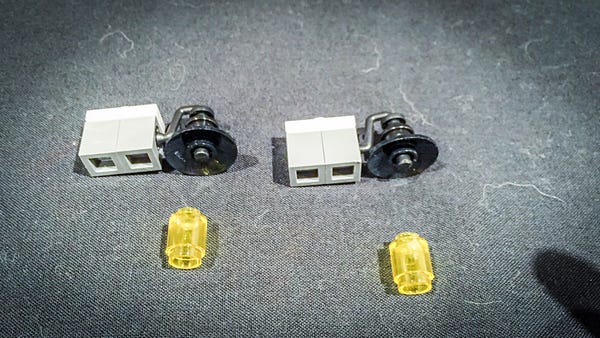
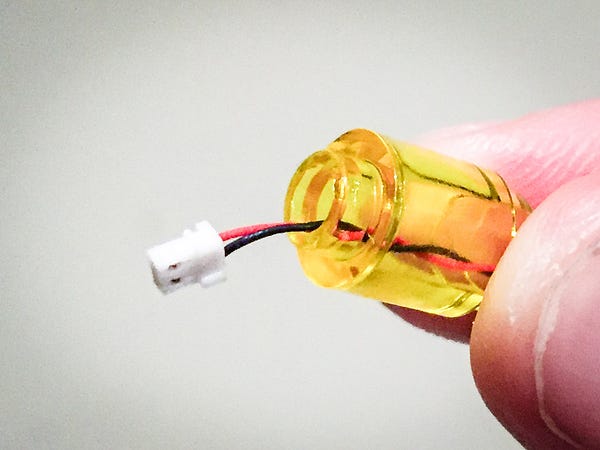
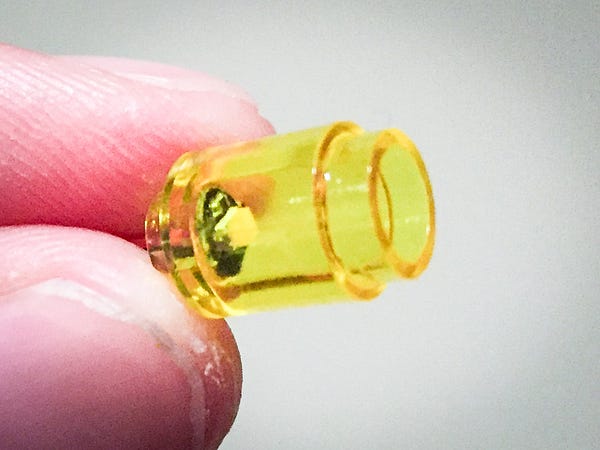
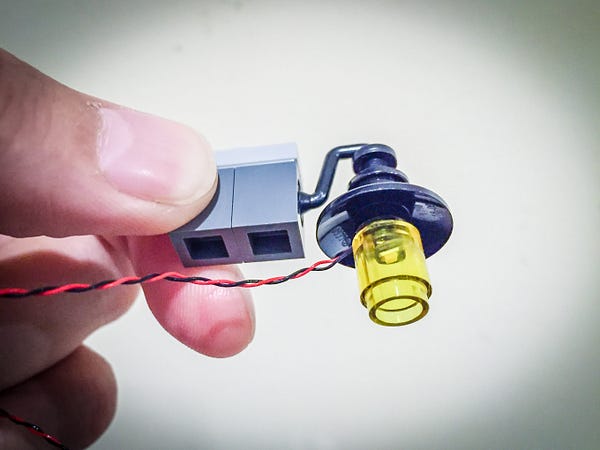
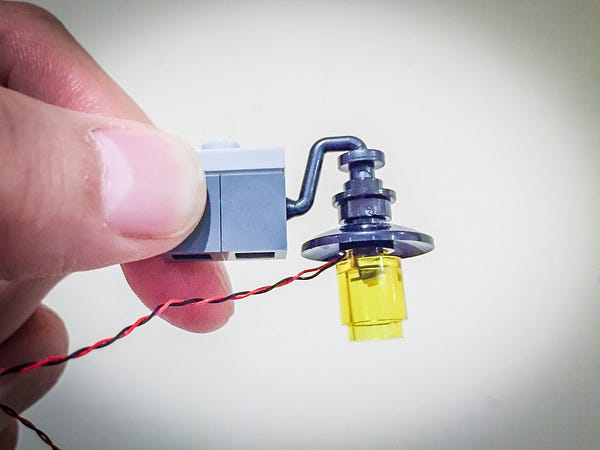
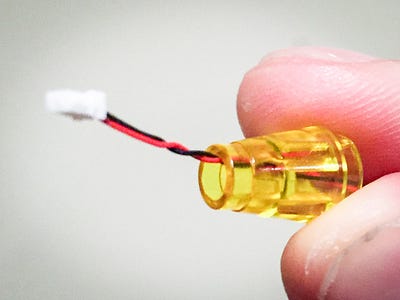
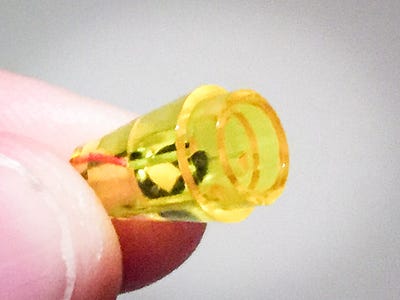
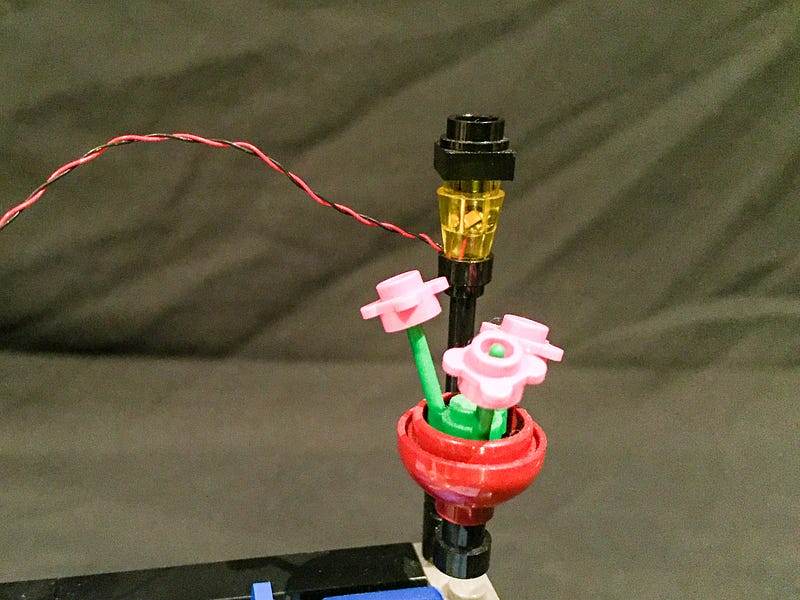
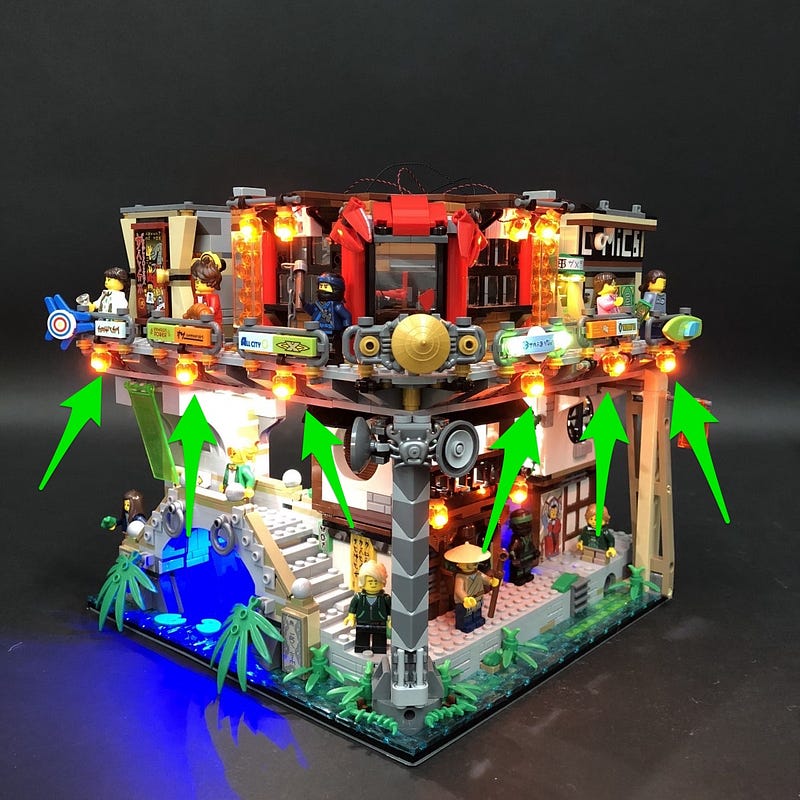
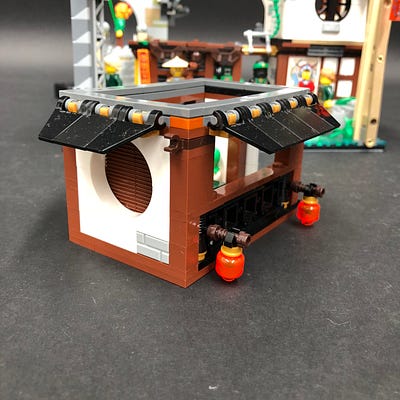
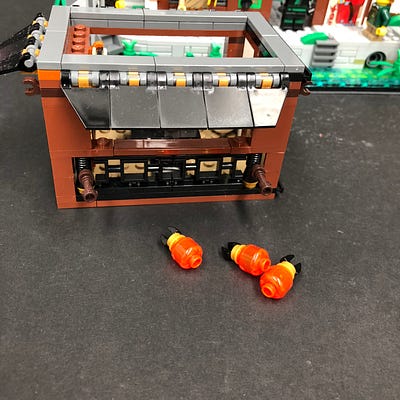
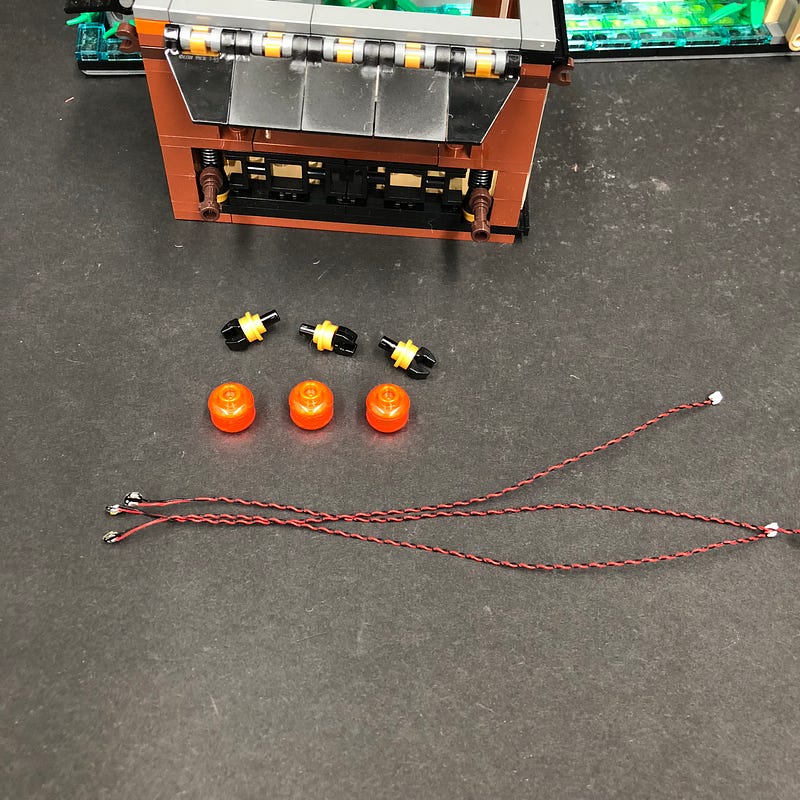
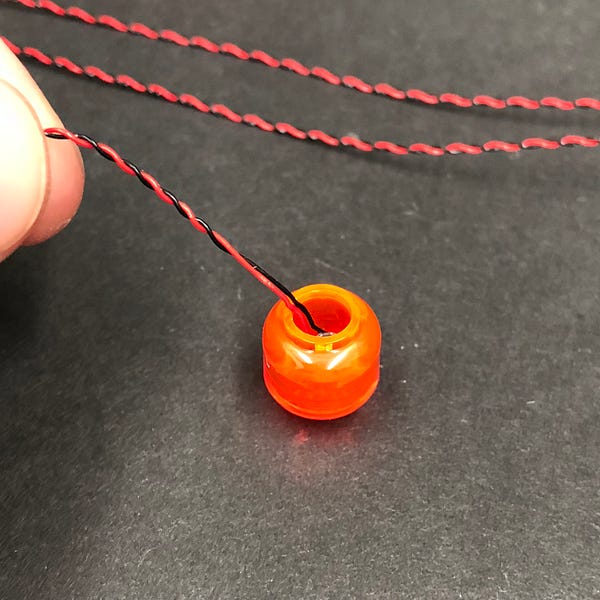
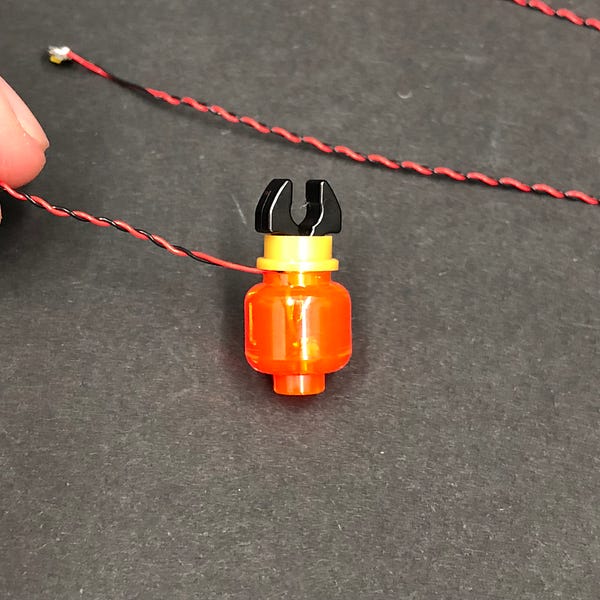
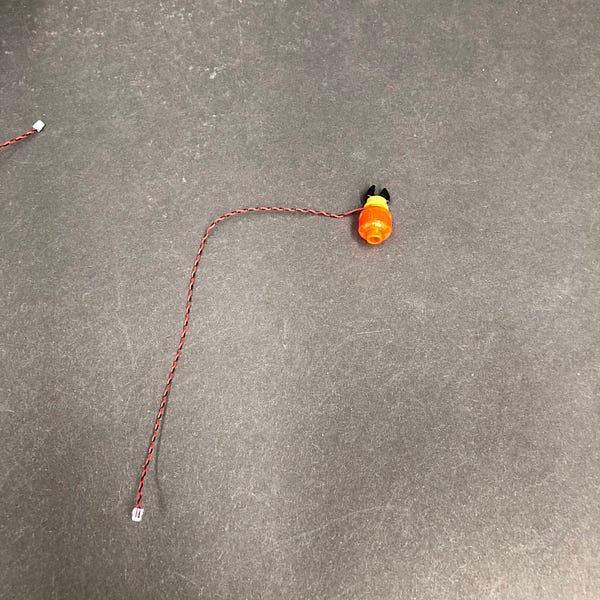
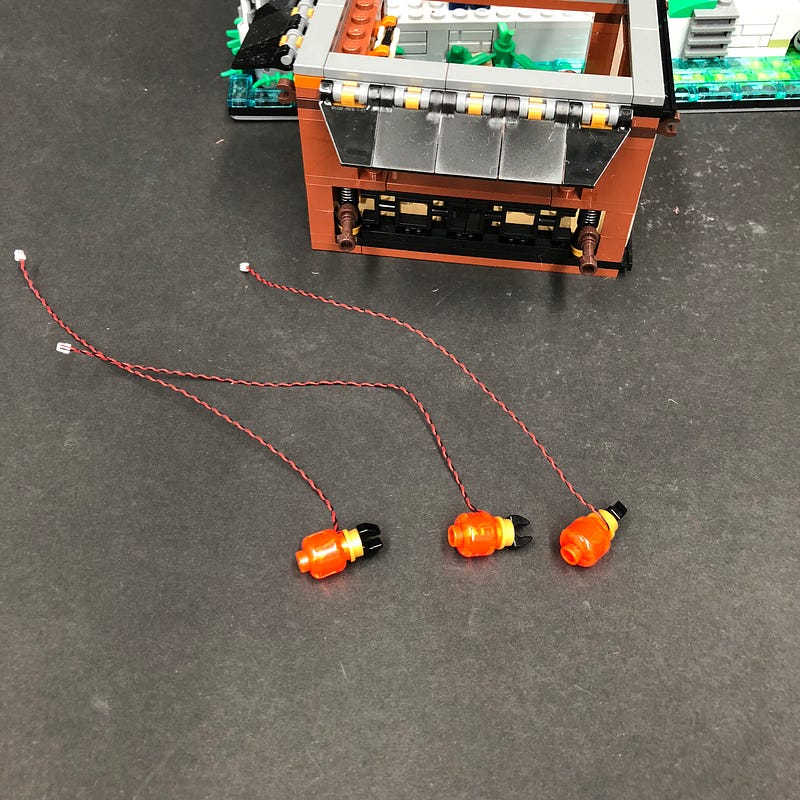
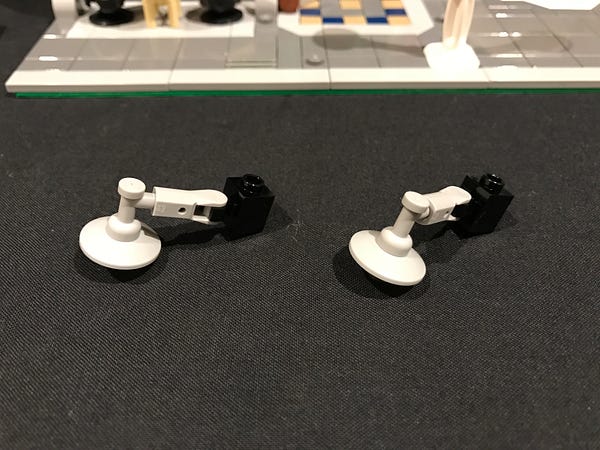
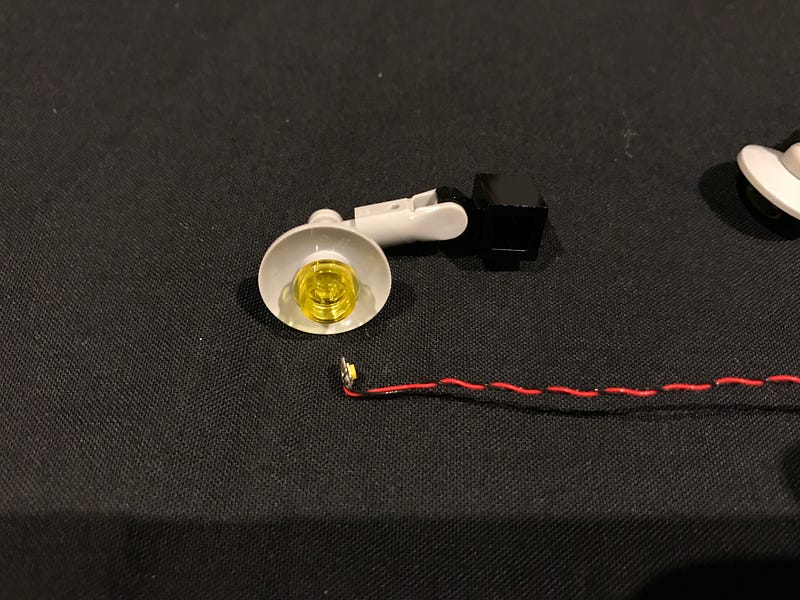
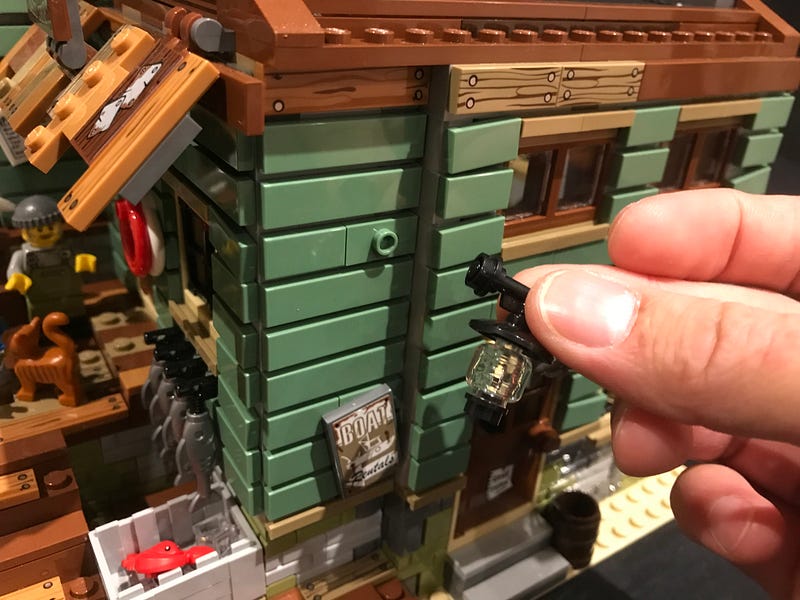
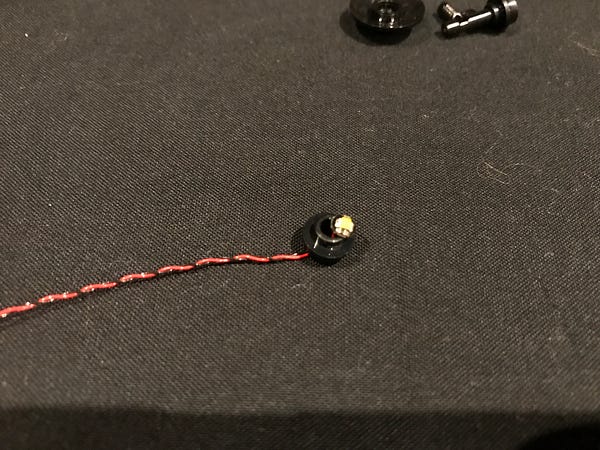
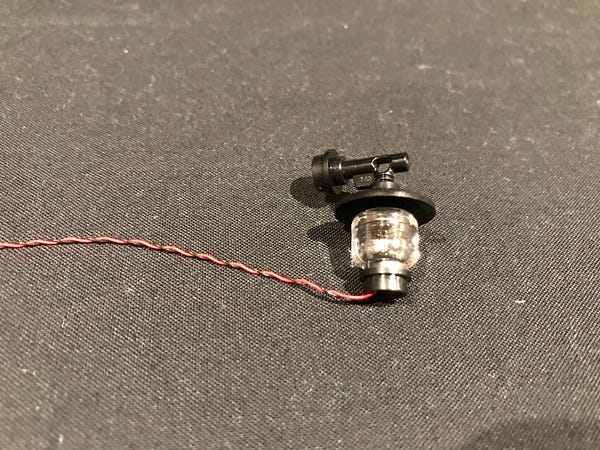
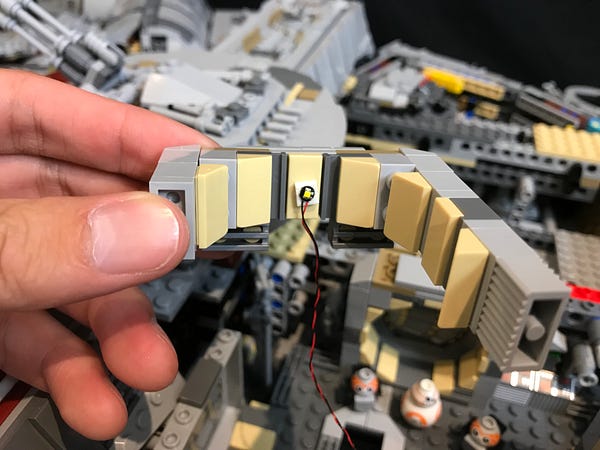
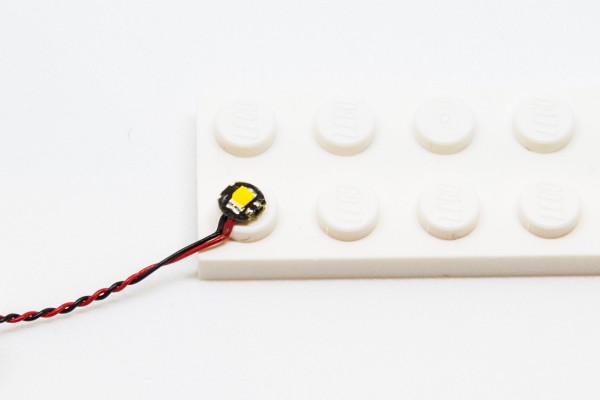
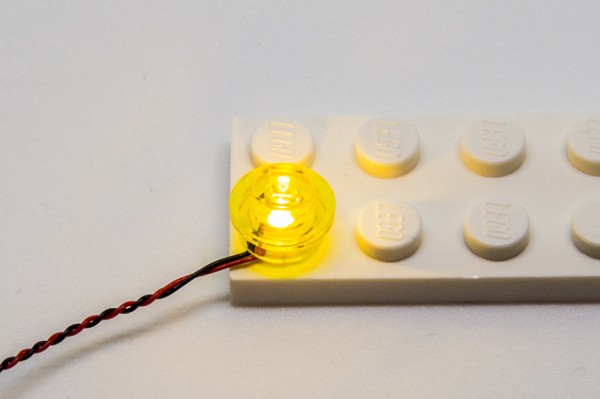
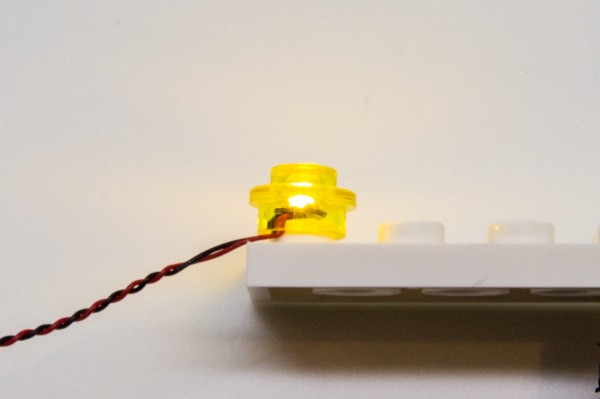
Installing Bit Lights under LEGO® bricks and plates.
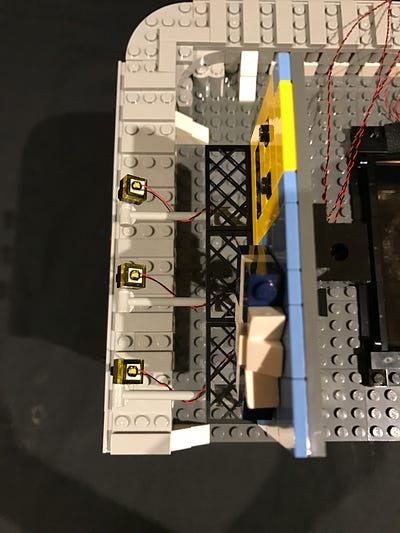
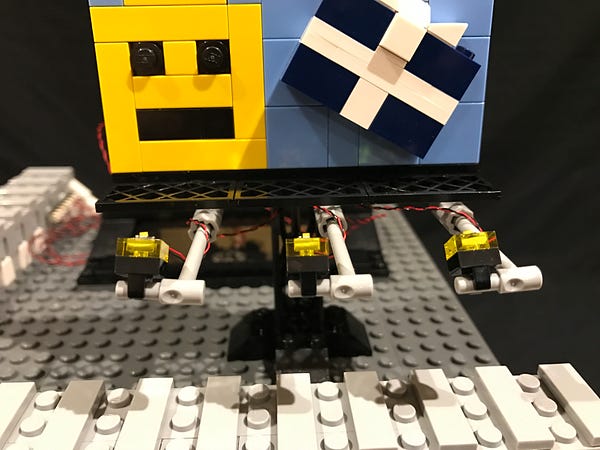
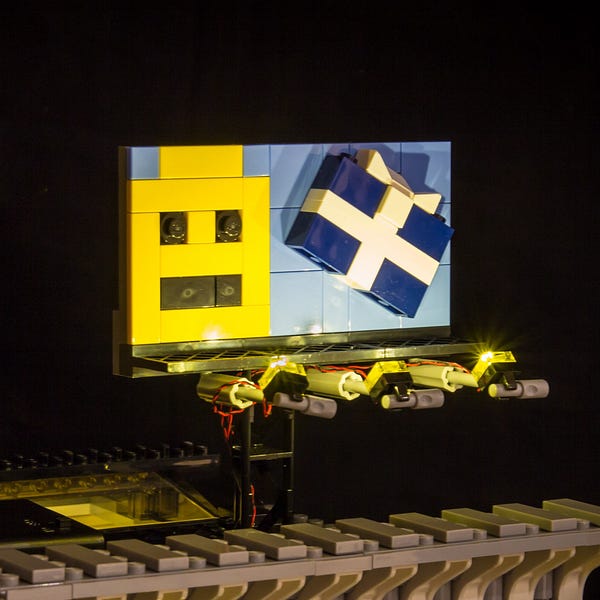
When installing Bit Lights under LEGO® pieces, ensure they are placed the correct way up (Yellow LED component exposed). You can either place them directly on top of LEGO® studs or in between.
Setting up the Remote Control and Sound Kit
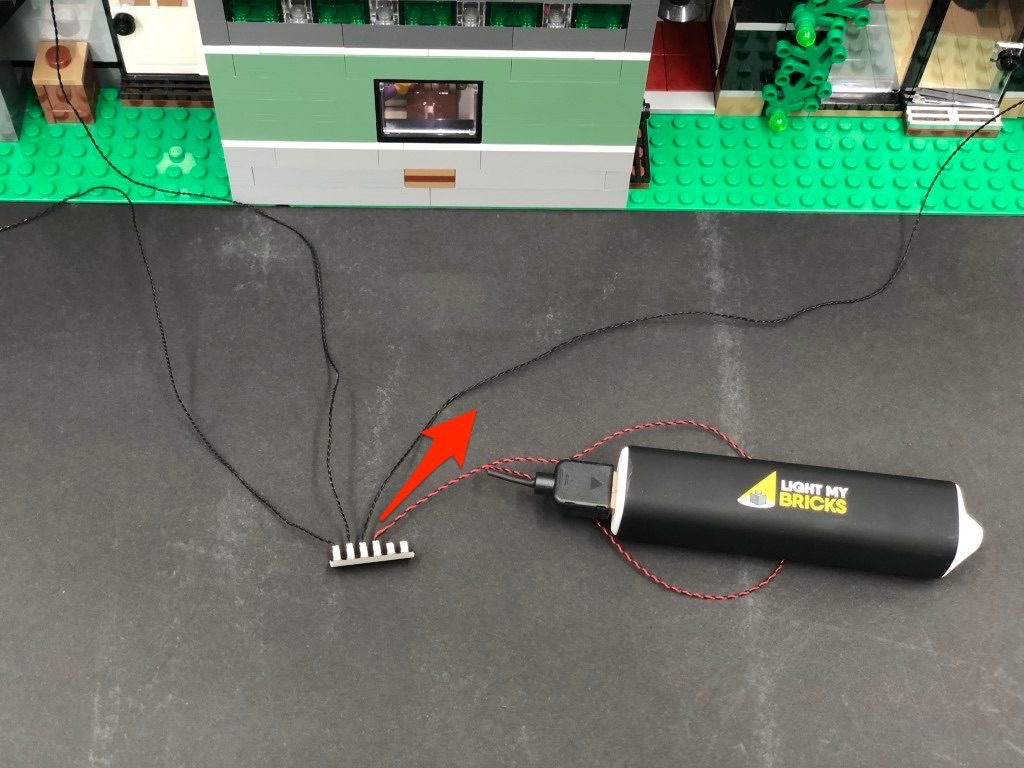
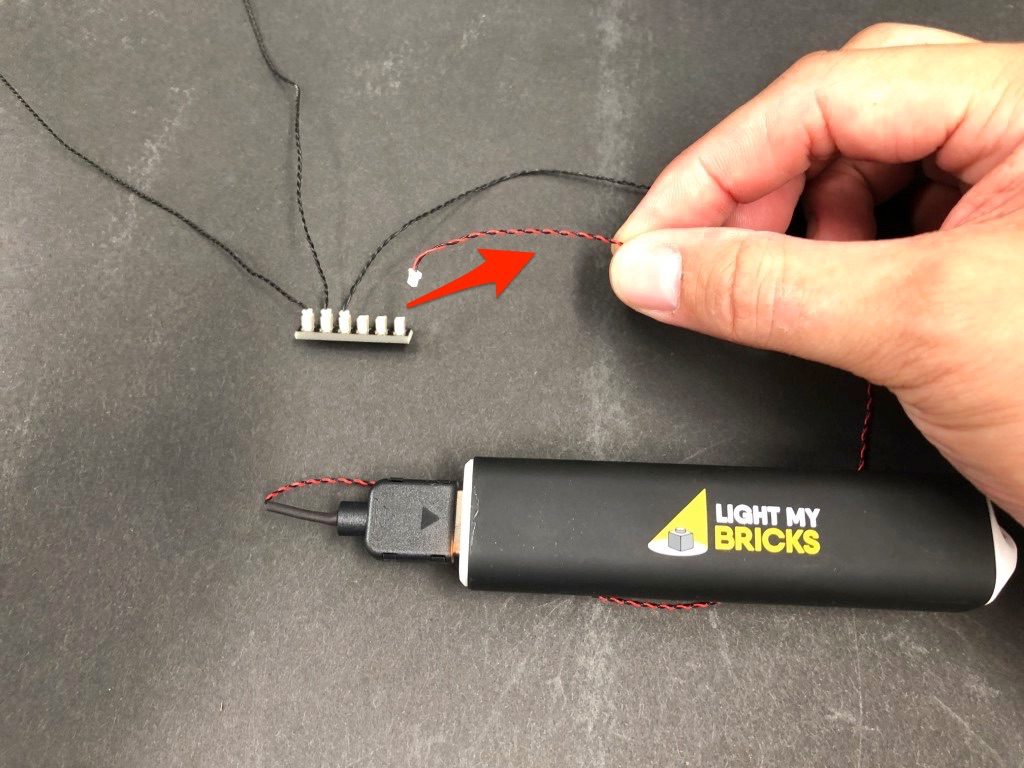
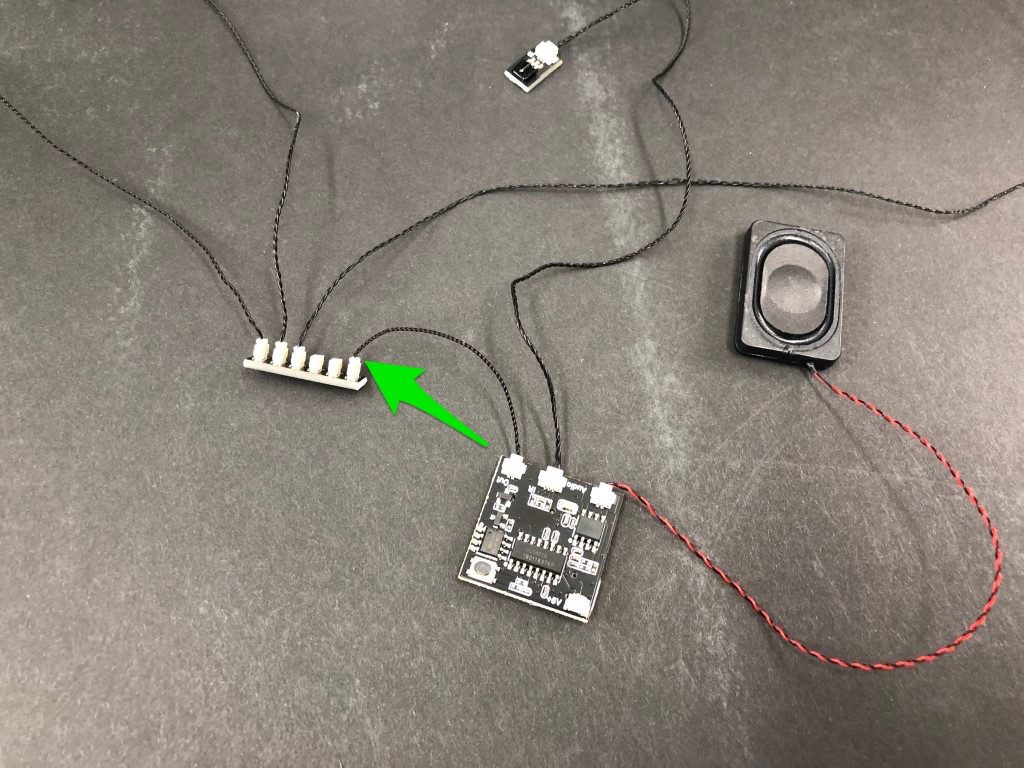
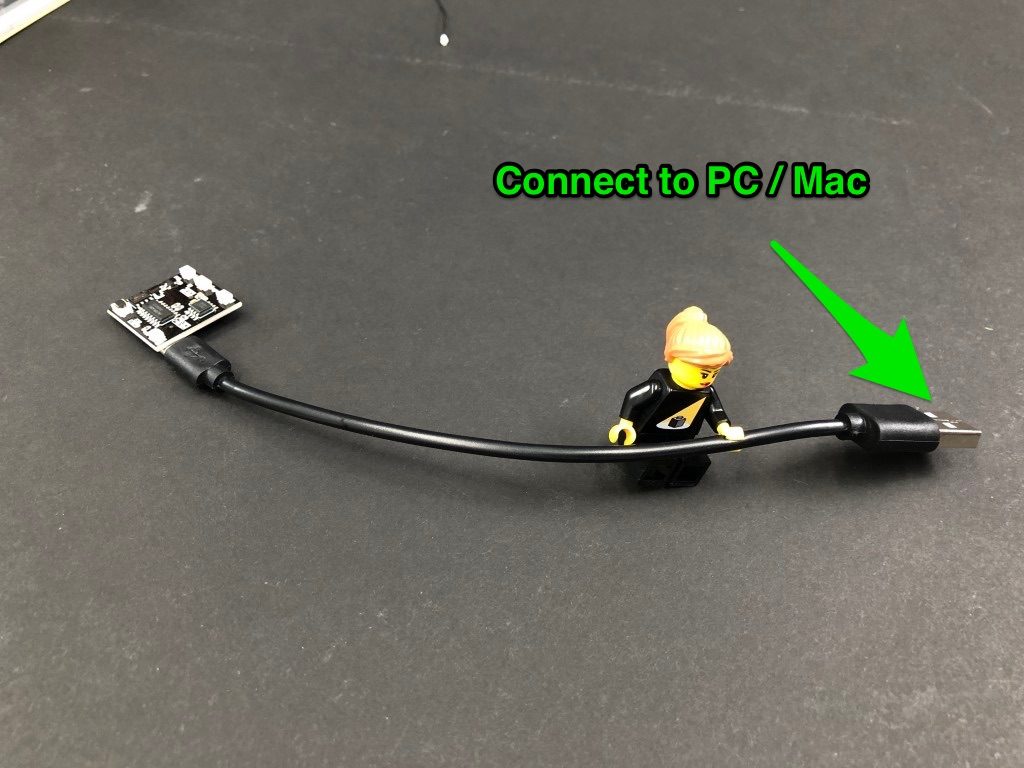
Important Note regarding Power: If your light kit contains multiple multi-effects boards, we recommend powering the remote control board via mains electricity (connecting usb power cable into a wall adaptor similar to a smartphone charger). This will eliminate any potential issues relating to powering of the device. 1.) Your Remote Control Board should be connected in between your light kit and power source. First disconnect the power source from your light circuit 2.) Assemble your Remote Control and Sound Kit as shown below ensuring all your components are connected to the correct ports:
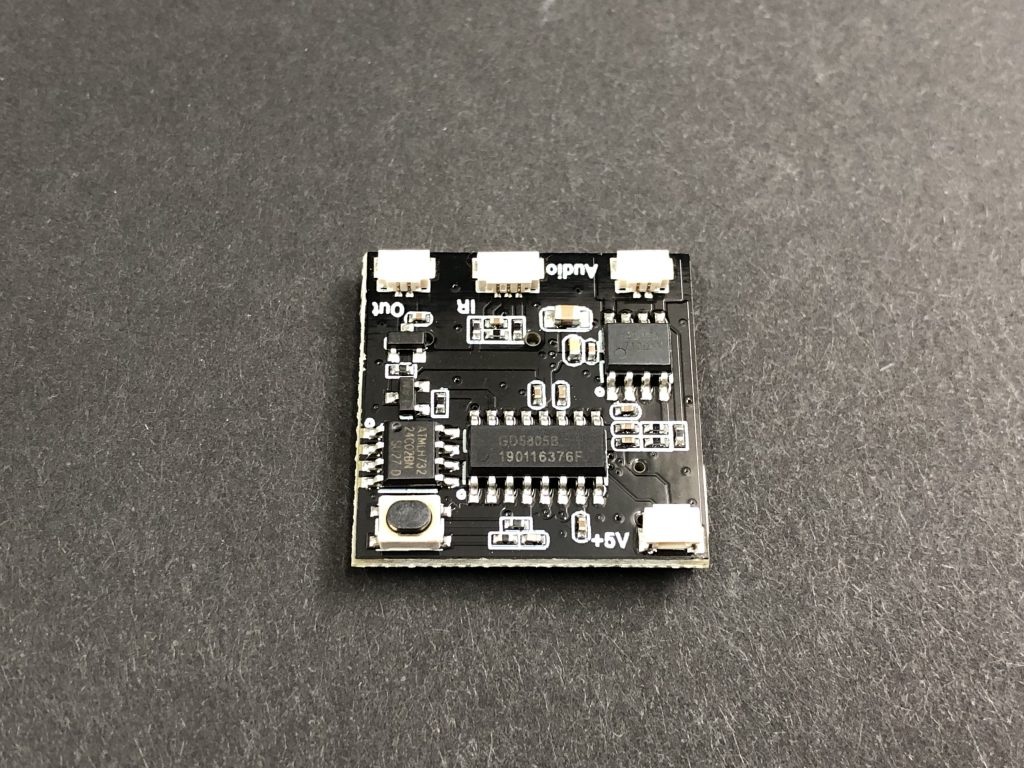
Audio – Connect Speaker to this port
IR – Connect IR Receiver 30cm Connecting Cable to this port
Out – Connect 5cm Connecting Cable to this port
2.) Assemble your Remote Control and Sound Kit as shown below ensuring all your components are connected to the correct ports:
Audio – Connect Speaker to this port
IR – Connect IR Receiver 30cm Connecting Cable to this port
Out – Connect 5cm Connecting Cable to this port
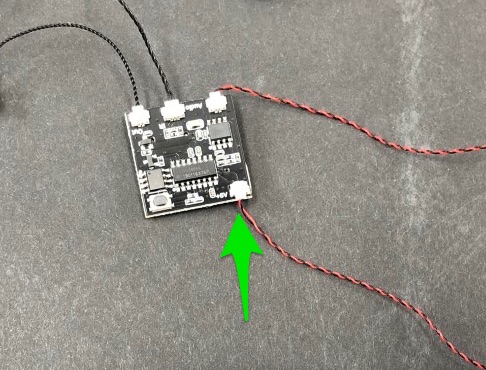
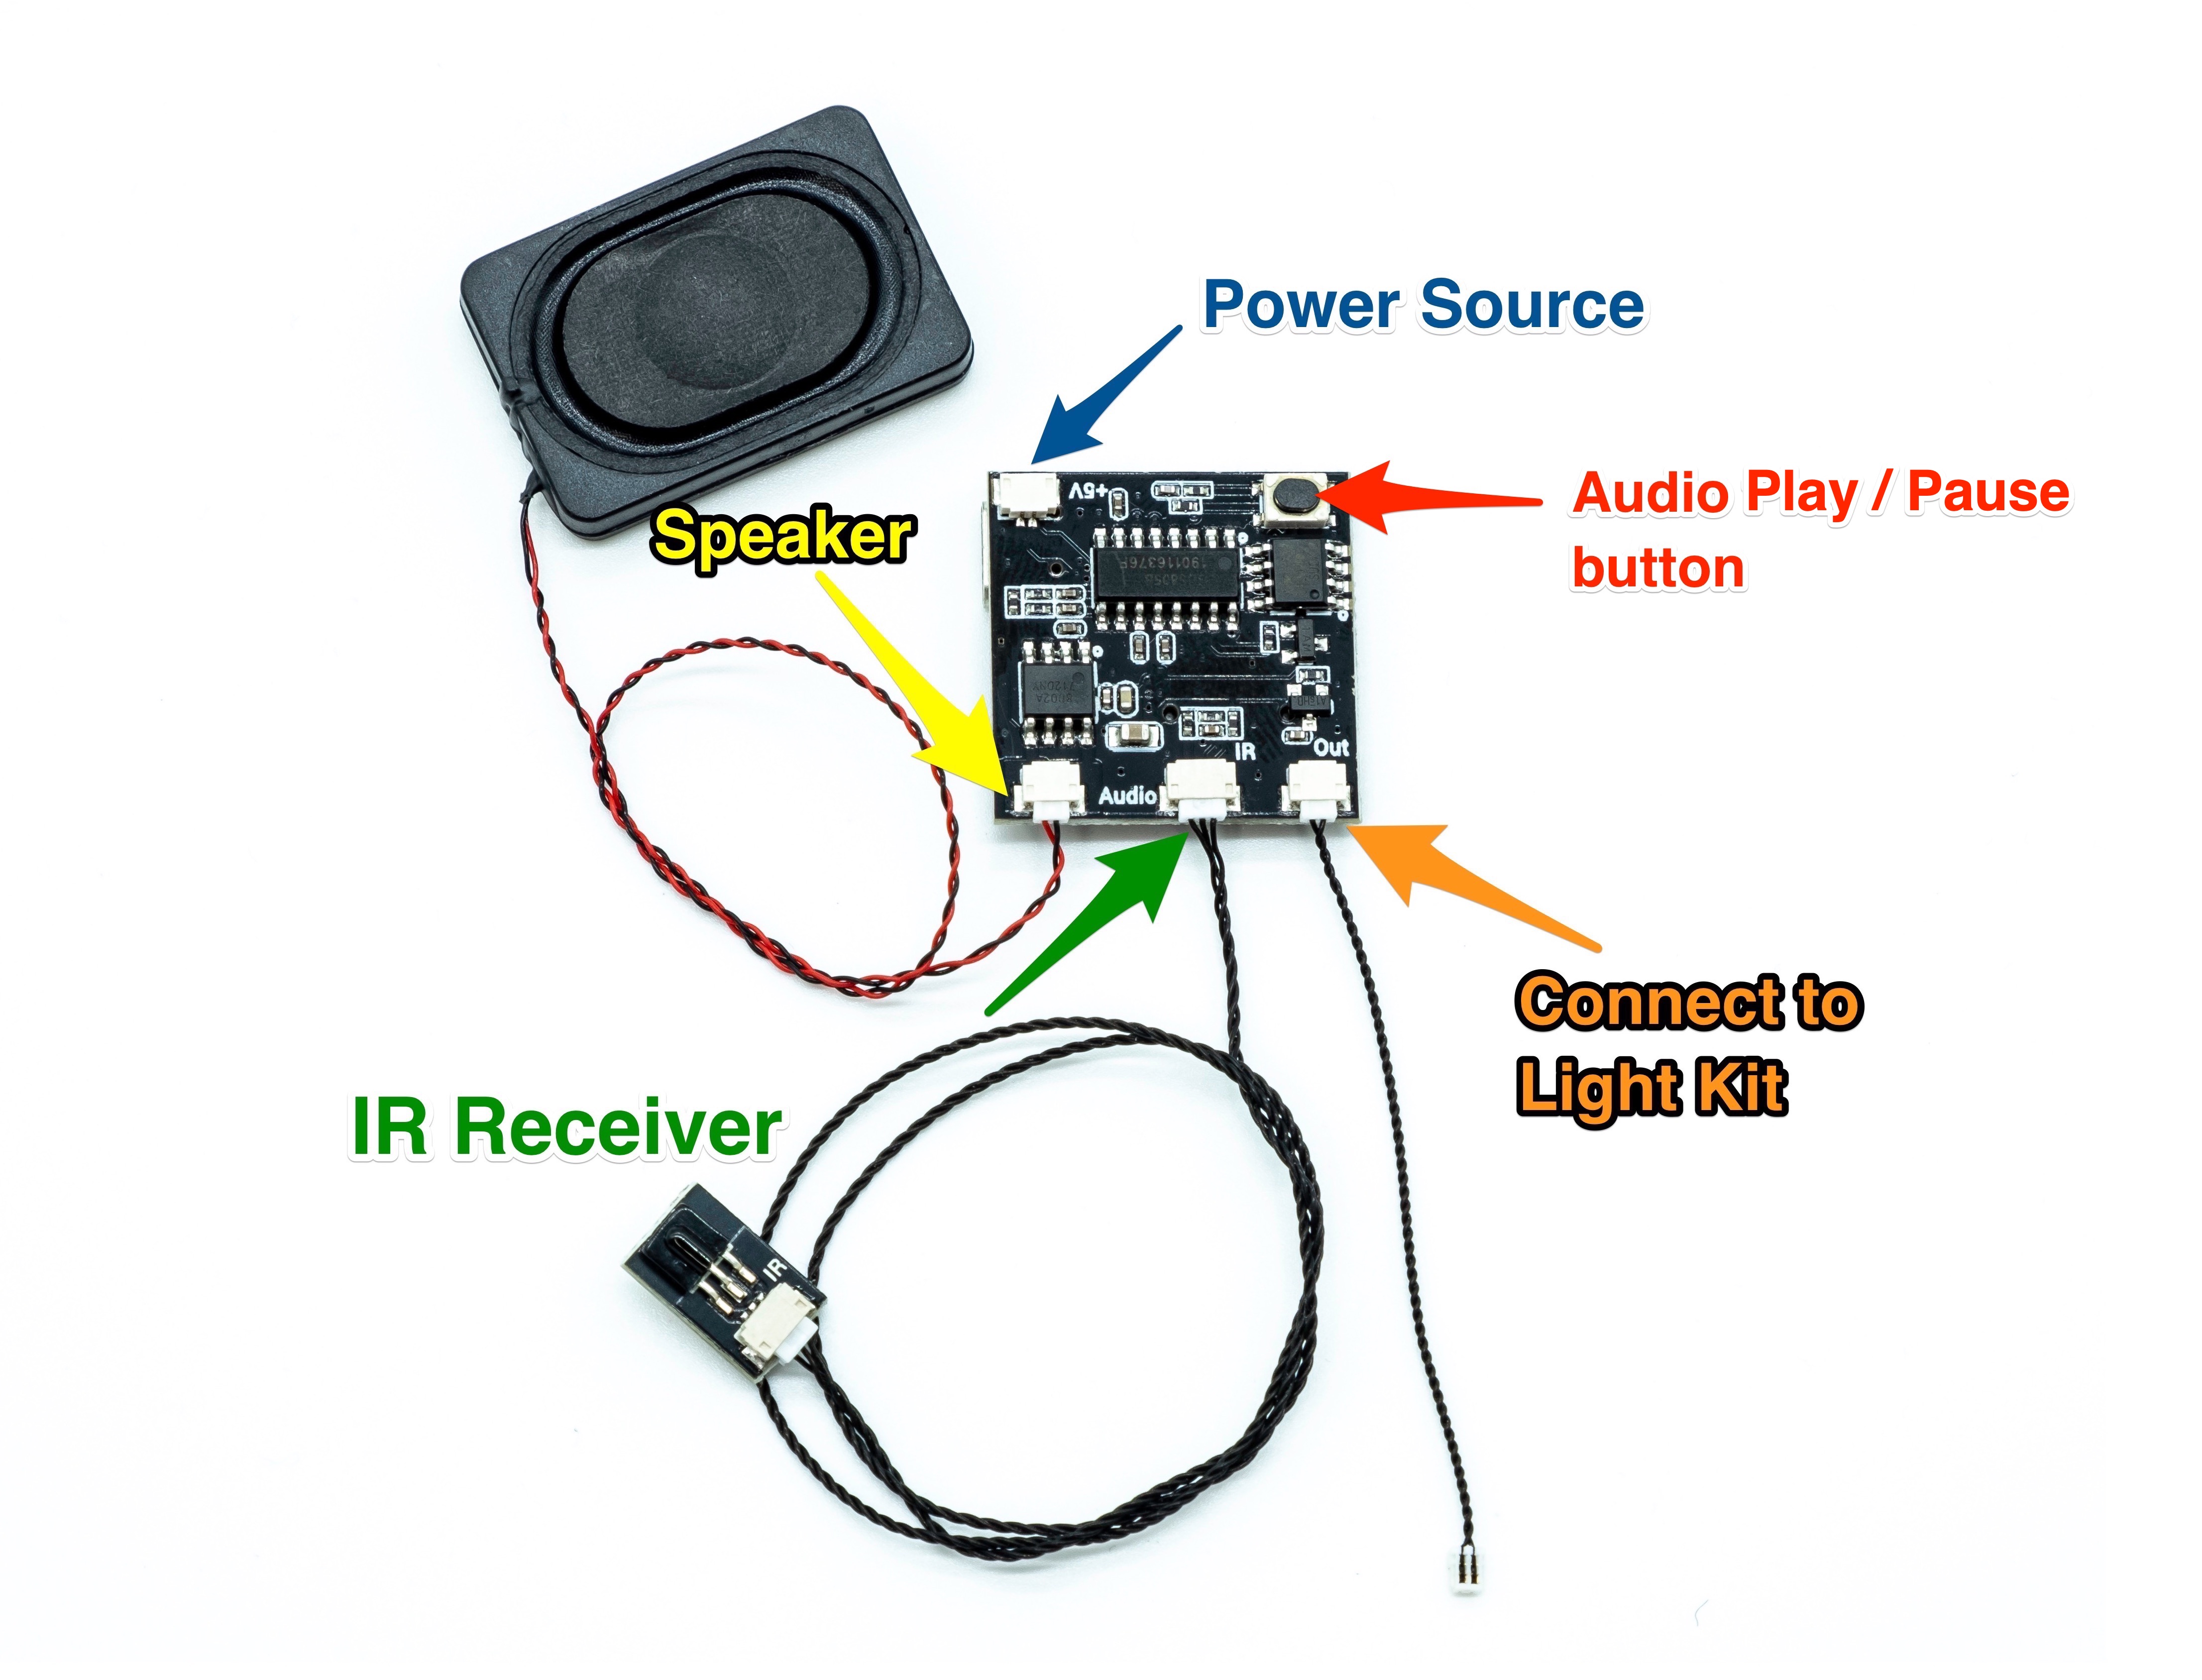 3.) Once your Remote Control and Sound Kit is assembled as per above, connect the other end of the 5cm Connecting Cable to your light kit (where your power source was previously connected). Then connect your power source to the remote control board’s 5V port.
Important Note regarding Power: If your light kit contains multiple multi-effects boards, we recommend powering the remote control board via mains electricity (connecting usb power cable into a wall adaptor similar to a smartphone charger). This will eliminate any potential issues relating to powering of the device.
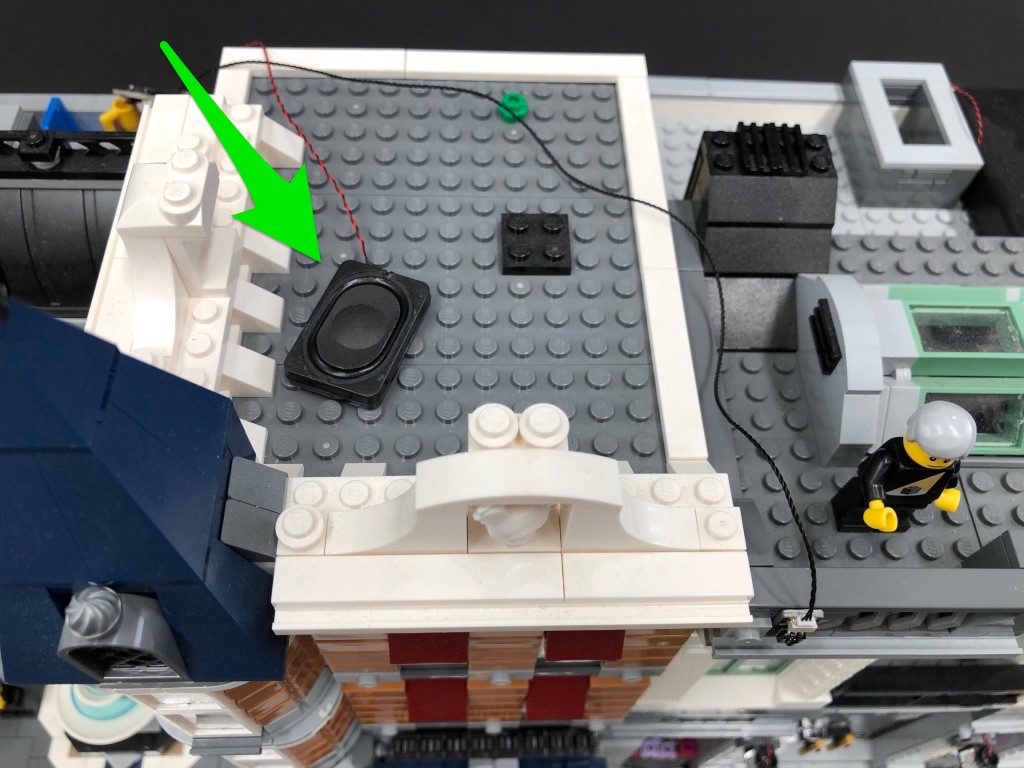
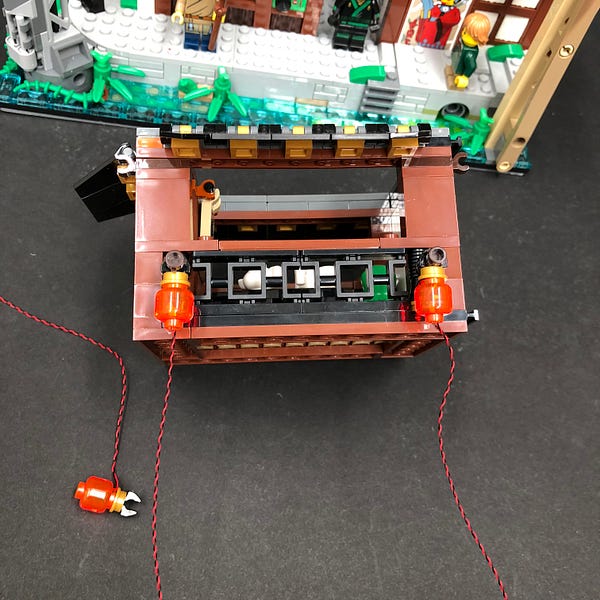
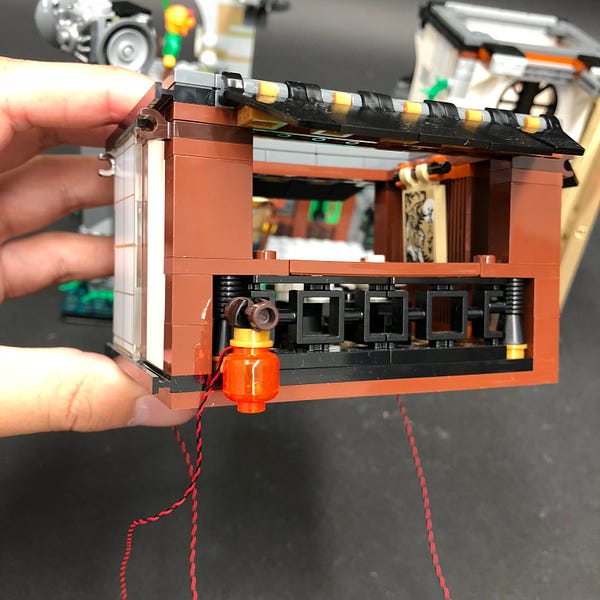
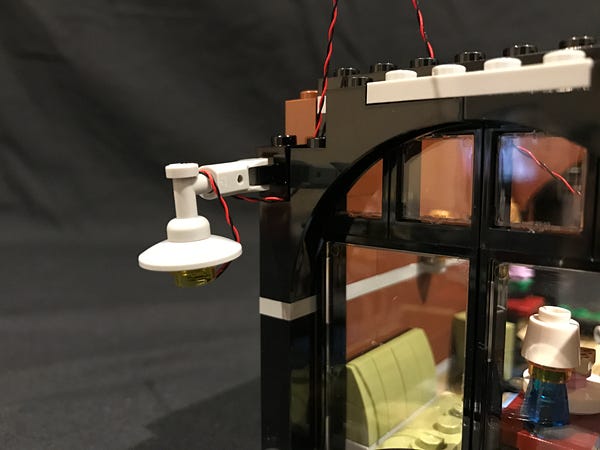
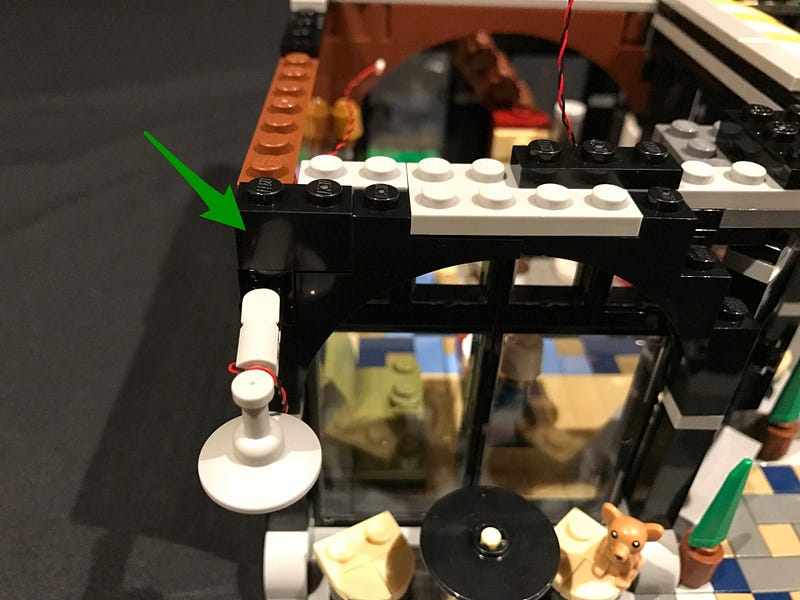
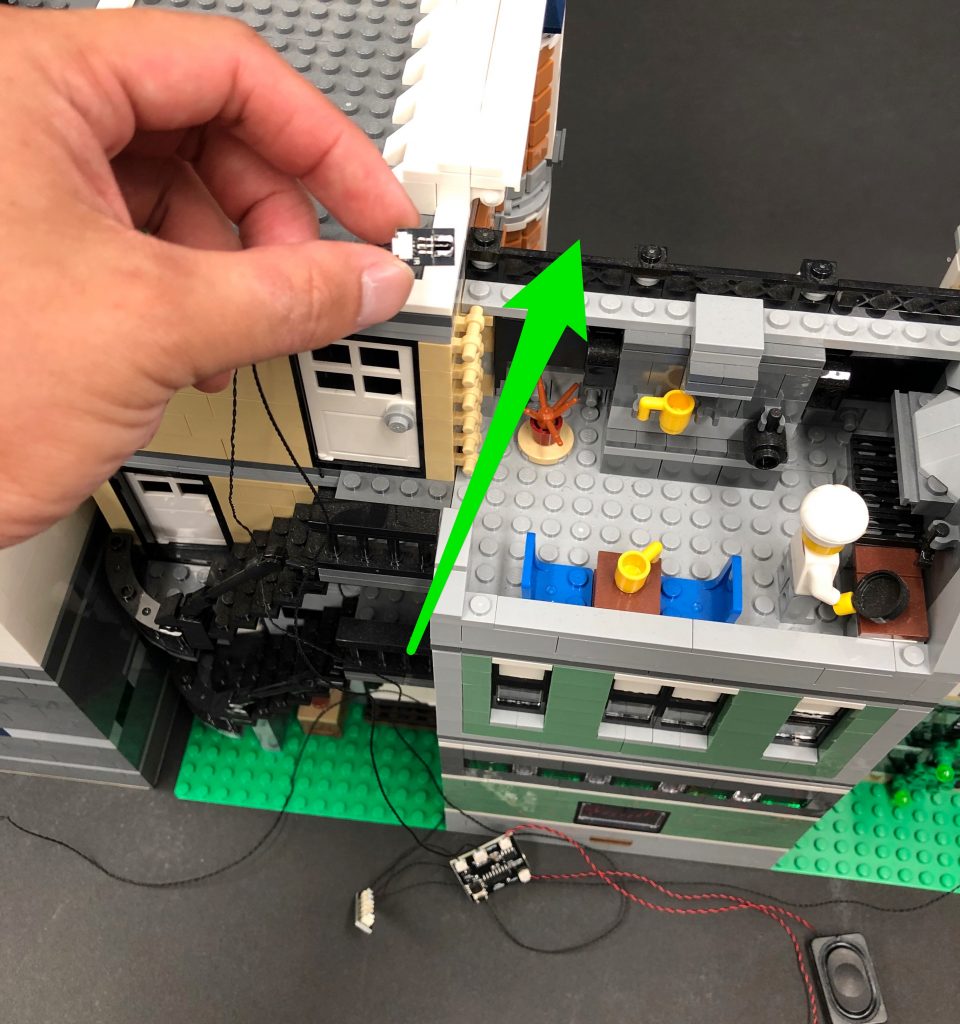
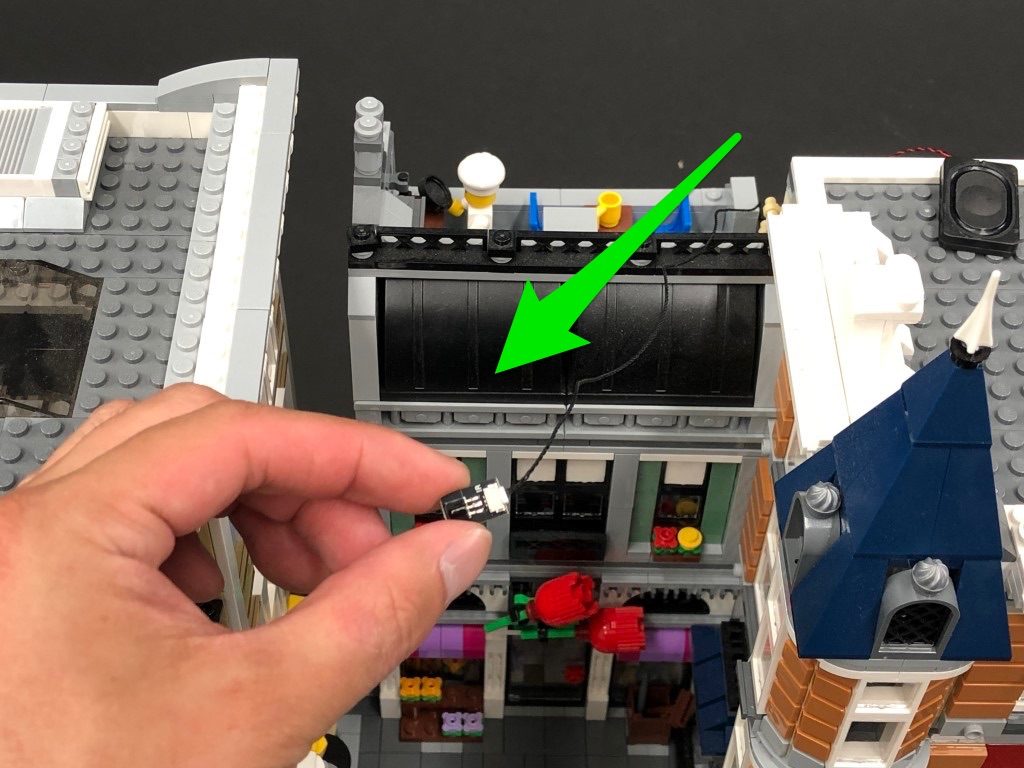
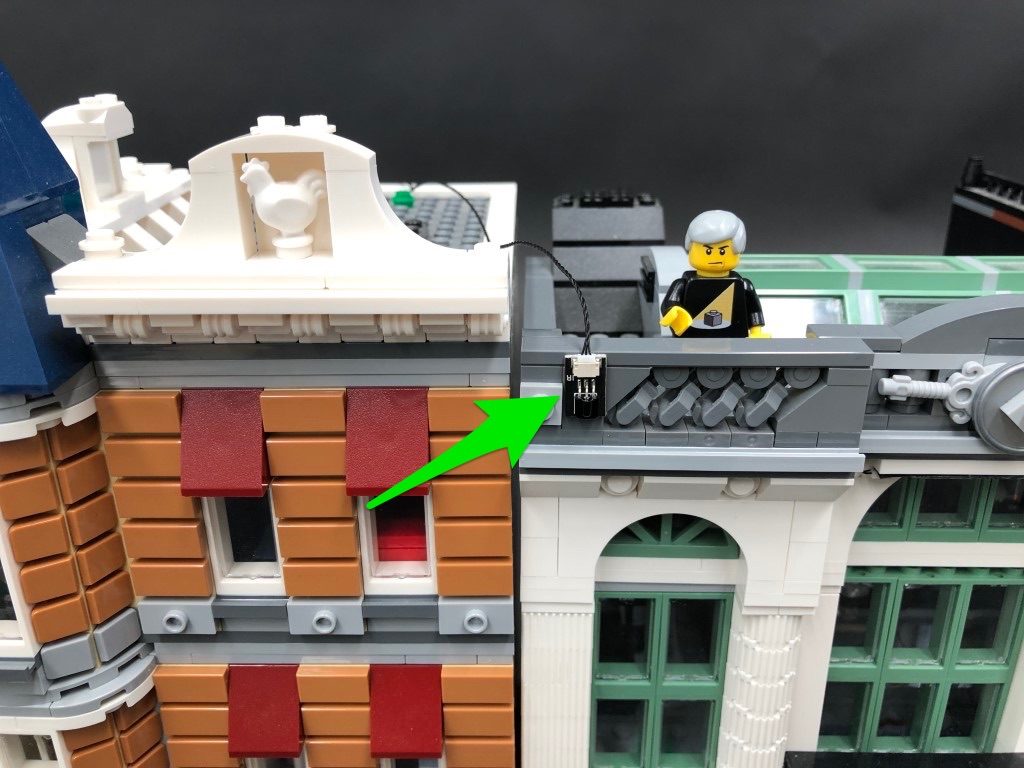
4.) Take the IR Receiver and bring it over to the front of your light kit, so that we can mount it ‘in line of sight’ of the remote control. Using it’s adhesive backing, mount the IR Receiver somewhere suitable ensuring the sensor is facing forward.
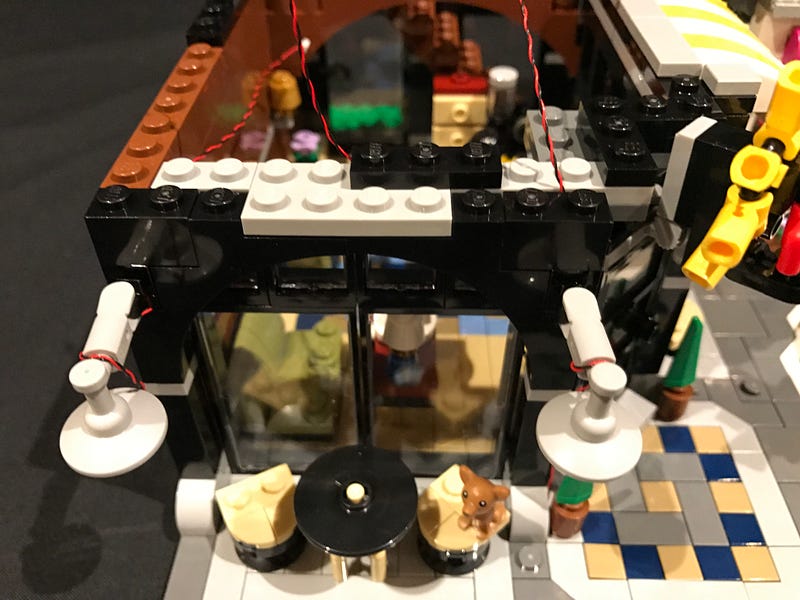
5.) Take the speaker and secure it somewhere suitable ensuring speaker is facing the correct way up.
3.) Once your Remote Control and Sound Kit is assembled as per above, connect the other end of the 5cm Connecting Cable to your light kit (where your power source was previously connected). Then connect your power source to the remote control board’s 5V port.
Important Note regarding Power: If your light kit contains multiple multi-effects boards, we recommend powering the remote control board via mains electricity (connecting usb power cable into a wall adaptor similar to a smartphone charger). This will eliminate any potential issues relating to powering of the device.
4.) Take the IR Receiver and bring it over to the front of your light kit, so that we can mount it ‘in line of sight’ of the remote control. Using it’s adhesive backing, mount the IR Receiver somewhere suitable ensuring the sensor is facing forward.
5.) Take the speaker and secure it somewhere suitable ensuring speaker is facing the correct way up.
 Your remote control and sound kit is now ready to use. To activate, follow the below procedure:
Operation
Refer to the below remote control button functions and ensure you first remove the plastic tag to activate the remote control battery. Also ensure your power source is turned on before you operate, and that the remote control sensor is pointing directly at the IR sensor.
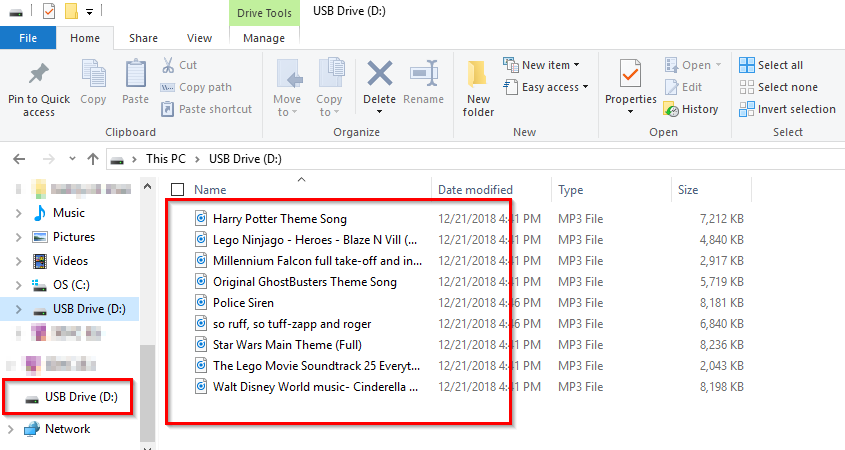
Load Your Desired Audio Track(s)
The Light My Bricks Remote Control and Sound Kit’s included 64MB memory card comes with 9 pre-loaded audio tracks in MP3 format:- Everything is Awesome
- Disneyland theme
- Harry Potter Theme
- Ninjago theme
- Millennium Falcon take off and interior sounds
- Ghostbusters Theme
- City Police Siren
- So Ruff So Tuff
- Star Wars Main Theme
 PC
PC
Re-arrange the order of audio files played. If you wish to re-arrange the order of the mp3 files that are played, follow the below steps:
- Copy all the files to your local hard drive.
- Delete all the files from the memory card (ensure you have copied the files off as per step 1)
- Rename the files on your local hard drive with the number order of your choosing, e.g. Rename “Police Siren.mp3” to “01. Police Siren.mp3“, “Car Engine.mp3” to “02. Car Engine.mp3“, etc.
- Copy the files back to the memory card.
Troubleshooting
My lights do not power on using the remote control!
If your lights do not power on via the remote control, first check that all your connections are correct as per step 2. If all the connections are correct and all you hear is a brief beep of static through the speaker, this is a powering issue where not enough power is being inputted to the remote board and light kit. If your light kit contains multiple multi-effects boards, we recommend powering the remote control board via mains electricity (connecting usb power cable into a wall adaptor similar to a smartphone charger). This will eliminate any potential issues relating to powering of the device.Remote Control system is draining batteries very quickly
When you are powering the remote control system and lights with our battery packs, the remote board will still output a very small amount of power, even with the lights remotely turned off. This is because the remote board still requires just enough power so that it can detect when it is time to remotely “turn on”. This is the reason your AA Batteries are draining quickly. If you want to remotely turn ON the lights whenever you want, it is best to power using our USB Power Cable connected to mains power via a USB wall adaptor (like a smart phone wall adaptor).I can remotely turn on Lights but when I press play to play audio, lights turn off and it makes a buzzing noise
This issue is relating to lower power or batteries are not fully charged. Replace batteries with fresh fully charged batteries and try again. Alternatively, use our recommended power source and power your remote control lighting circuit using our USB Power Cable to mains power wall adaptor.Light My Bricks USB Power Bank green light turns off after I remotely turn off the remote control system. Once this happens I can’t remotely turn ON the lights.
Our USB Power Banks have a standby function which saves power when it detects no or very little power. When the lights are turned off remotely, it is only outputting a very tiny amount of power, so the USB power bank will detect inactivity and power off. If you want to remotely turn ON the lights whenever you want, it is best to power using our USB Cable connected to mains power via a USB wall adaptor (like a smart phone wall adaptor).For all other questions or issues please contact our friendly customer service team by emailing info@lightmybricks.com


